SiteMaker: The Basics 2. Editing Menus
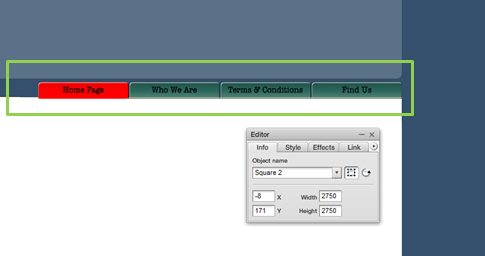
Menus can be repositioned through Page Master as explained in ‘SiteMaker: The Basics 1. Adding your Site Name‘.
Note: If you have purchased your SiteMaker package after the 4th June 2013 you will be using our new version of SiteMaker.
The new version creates a website in HTML5 rather than flash, making our SiteMaker website viewable on many popular phones and tablet devices.
Because of this some of the Support Centre articles may not apply to your SiteMaker configuration. To make it easier we have appended all relevant articles with HTML5 to make it easier for you to find your desired guide.
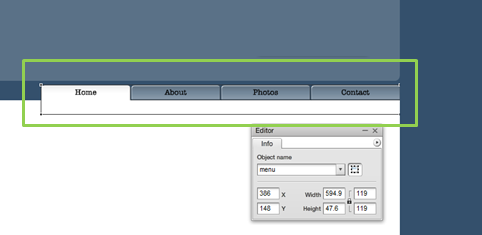
Now that you have settled on a new position for you menu, you may wish to rename the ‘tabs’ so that they relate to the type of website you are trying to create.
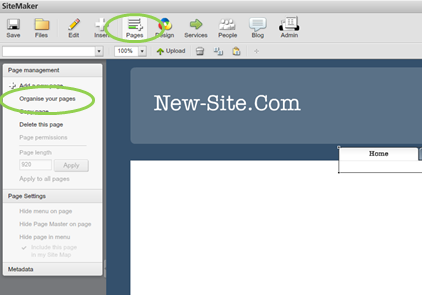
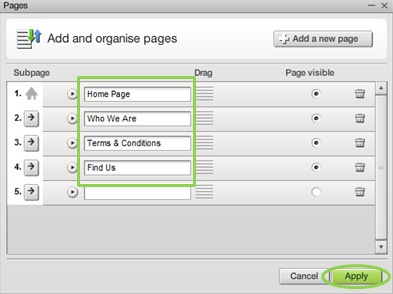
Click Pages on your editing toolbar and the ‘Page Management’ menu will appear on the left of your screen. Select Organise your pages.
‘Add and organise pages’ will appear. This dialog box will allow you to amend your page names, add a new page and also hide your pages.
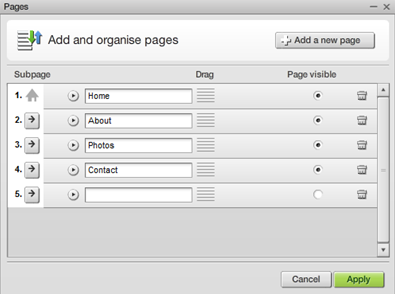
In this example, I have renamed my pages and clicked Apply when finished.
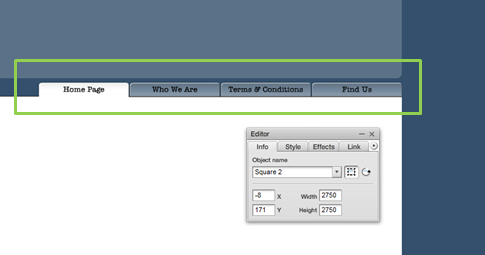
Your new tab names will be displayed
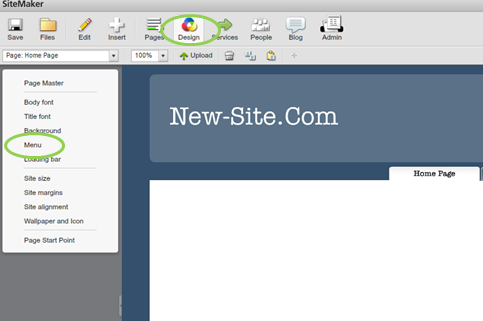
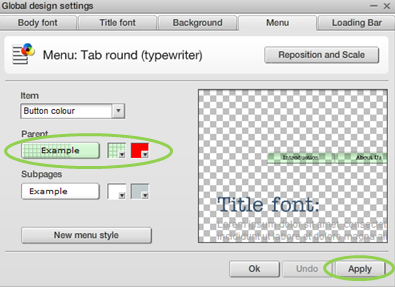
If you wish to change the colour of your menu tabs, select Design from the toolbar and then Menu on the left side of the screen.
Select Button Colour from the ‘Item’ option.
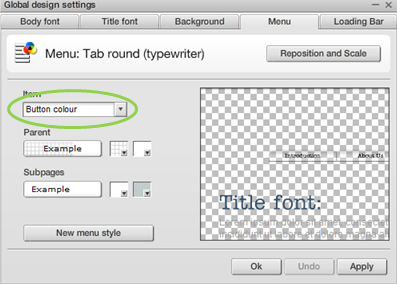
You can now select your desired colours under the ‘Parent’ section. The first colour box will define the colour of your tabs when they are not selected. The second colour box defines the colour of a selected tab. You can test how this will look by moving your mouse over ‘Example’. Click Apply when you have finished.
Your menu tabs will now be updated.
