SiteMaker: The Basics 1. Adding your Site Name
Note: If you have purchased your SiteMaker package after the 4th June 2013 you will be using our new version of SiteMaker.
The new version creates a website in HTML5 rather than flash, making our SiteMaker website viewable on many popular phones and tablet devices.
Because of this some of the Support Centre articles may not apply to your SiteMaker configuration. To make it easier we have appended all relevant articles with HTML5 to make it easier for you to find your desired guide.
This tutorial will highlight some of the basic functions of SiteMaker. We will assume that you have followed our guide ‘Getting Started with SiteMaker‘ and have successfully chosen an appropriate template and have launched SiteMaker.
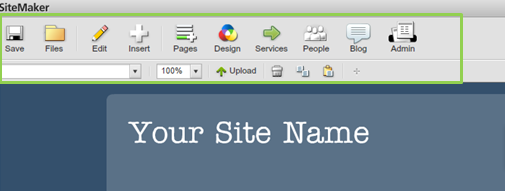
The first thing to note is the editing toolbar across the top of the screen. It is this toolbar that will allow you to design a great looking site.

One of the first things you will want to do with your new website is to display your website name. To do this, double click the top section of your Home page.

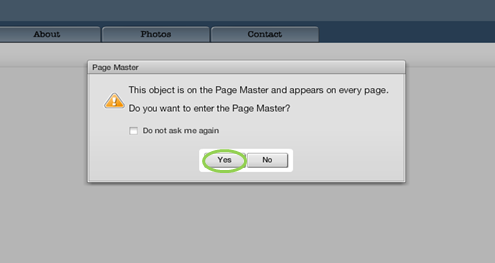
A dialog box will appear stating that you will be accessing the Page Master. The Page Master is the area that will appear on every page of your site. Click Yes.

Double click the current site name to activate the ‘text box’. Delete current text and enter your new site name. You can also drag and position the text box elsewhere. Click Save.

Within the Page Master you can also pick up and reposition your menu. Click Save when you have finished.

To see how you can edit your menu, please view our next guide; ‘Sitemaker: The Basics 2. Editing Menus‘