How to add your Company Logo
You want your eshop to stand out from the crowd and for existing customer to associate it with your business, having a good logo that is the same every time the customer interacts with your business is vital, this quick tutorial will show you how to add your logo to your eshop.
Getting Started
You will first of all need to log into your shop back office this is done through the Namesco control panel
Once you have logged in and chosen the shop that you want to configure, move your mouse over the “Settings” tab and click on “General settings“.

You now see the general settings for the shop, this area with it’s tabs allows you to control some of the basic features of the shop, but we will be looking just at adding a logo this time. Towards the bottom of the screen you will see the “Logo” section with an “Upload image” button.
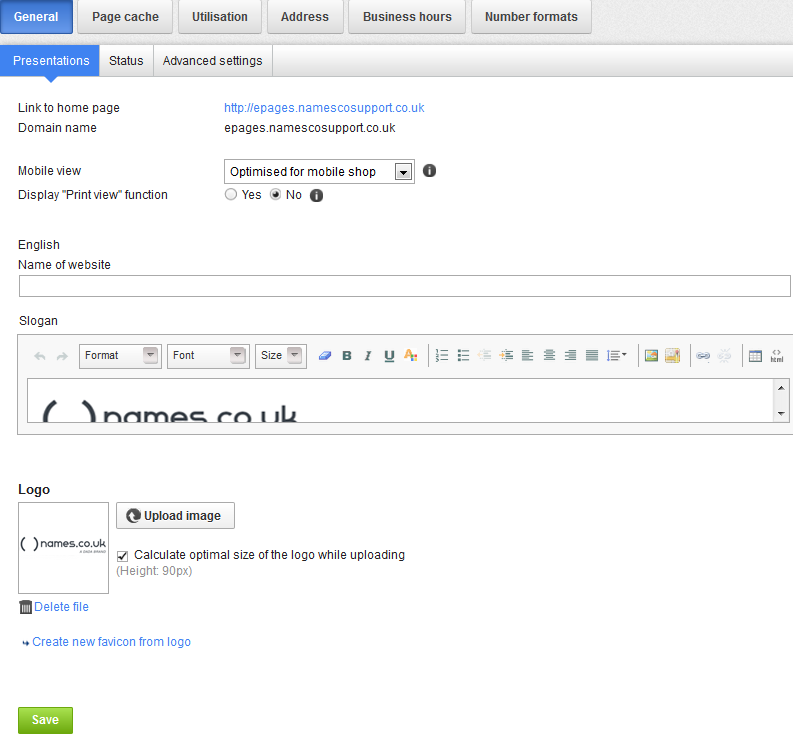
Clicking on the “Upload image button will open a window on your screen that allows you to find and select the file that you want to upload as a logo.
The file will now be uploaded to your eshop as the main logo. Our eCommerce solution will automatically resize the image by default so that it looks correct with the template design you have chosen.
Update your page cache so that the changes will appear on your eshop front end, then preview your shop so you can see how it looks.

Removing a logo
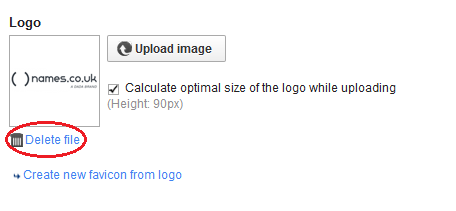
if you want to delete the logo and either have no logo or upload a different one then you can click the “Delete file” button.