How to add a Slide Show to SiteMaker
If you are looking to add a slide show function to your website you can use the in built Photosnack Widget.
You can add this by logging into your SiteMaker editor (How to log into SiteMaker), browsing to the page you wish to use for the Slideshow, then selecting insert.

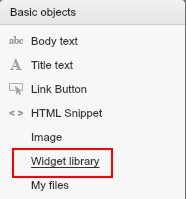
Next select Widget library from the Basic objects menu on the left.
Your File Manager will then open up. Please browse to the Widgets folder.
Next you will see a selection of widgets to choose from, just select Photosnack, and click on use this.
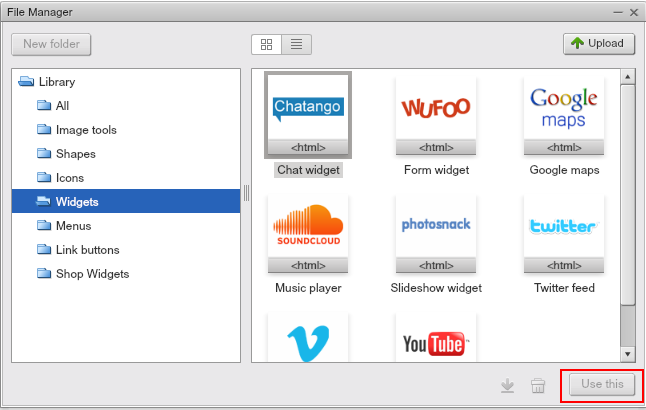
Once you have selected this you can close off your File Manager.
Now you can drag and drop the Slide show widget to where you want the widget to appear on your page, you can also resize the widget as desired.
Click on Get Snippet, this will take you to a new page at photosnack.com

First you will need to sign up to an account with photosnack.com
Once on the photo snack page click on “sign in”

Choose your method of logging in, for this example we will be using “Sign in with e-mail”
Next select “Upload Photos” in the middle of the page.

Before you can upload the images you will need give the album a name.
Click browse and choose all the images you wish to have in your slideshow.
Once these have finished uploading click “next”
Now we are taken to the customise page where you can select the kind of slide show, I will be using the chain slider option.

Scrolling down we can choose the size of the slide show, the background colour, and even to add Audio to your slide show.

When ready click Publish.
Have a click through the slide show to be sure it is working correctly, then when you are ready click the Embed link and copy the embed code.

Now go back to your SiteMaker and add the code into the snippet box.
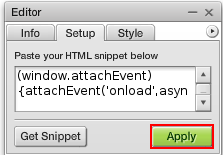
Click apply and finally click save.