In this guide we’ll take a look at how easy it is to install WordPress using an App Installer or manually via FTP.
Number of clicks to install WordPress: 12
Time taken to install WordPress: 1 minute and 4 seconds
Based on: using the App Installer
WordPress is the most popular Content Management System (CMS) for websites. According to W3Techs, 60% of all websites which use a CMS, use WordPress and the second biggest CMS (Joomla) only powers 6% of CMS websites – so WordPress is the largest CMS by a long shot!
In this guide, we’ll take a look at the app installer (Softaculous), to demonstrate how easy installing WordPress can be.
If you’d prefer to take full control and install WordPress manually, you may be interested in our manual installation guide which you can find on our support centre.
How to install WordPress with names.co.uk’s App Installer
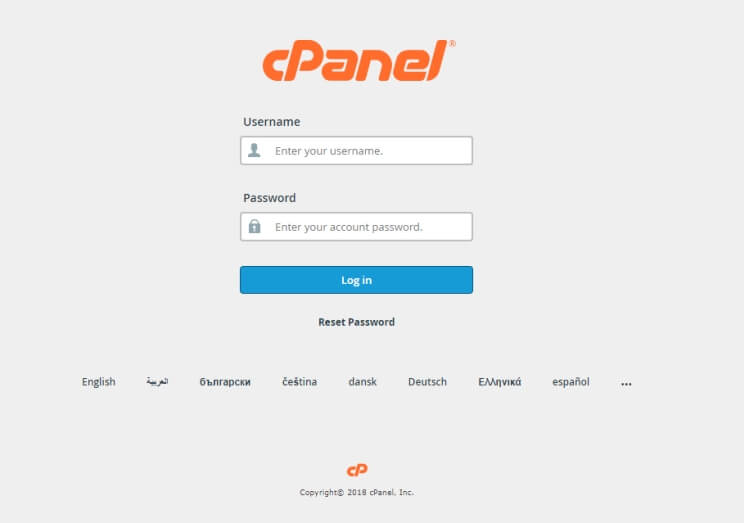
Step 1 – login to CPanel
Log in to your CPanel account
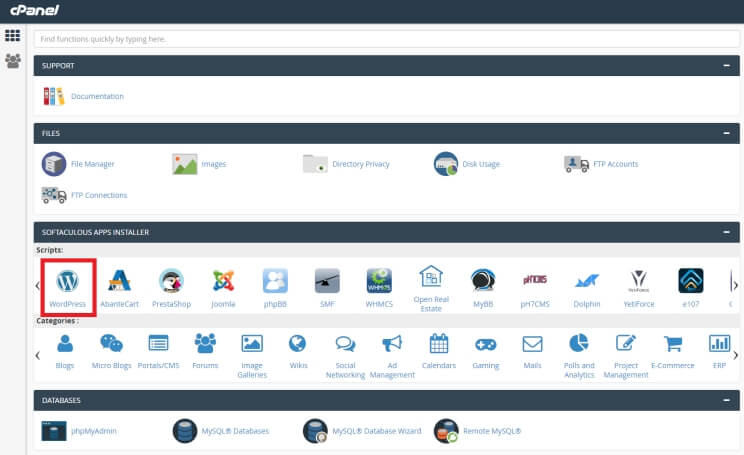
Step 2 – Select WordPress from the App Installer section
Scroll down to the section labelled ‘SOFTACULOUS APPS INSTALLER’, and click ‘WordPress’ from the ‘Scripts’ sub section.
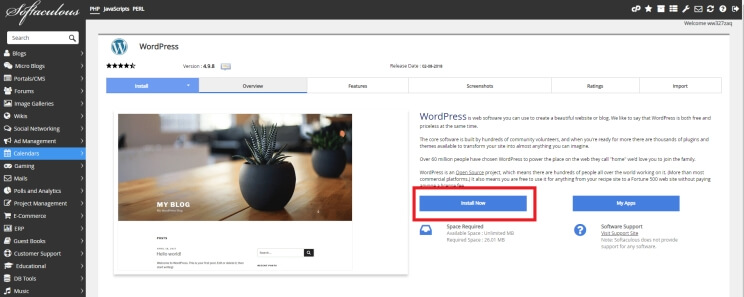
Step 3 – Click install now
Click on the ‘Install Now’ button
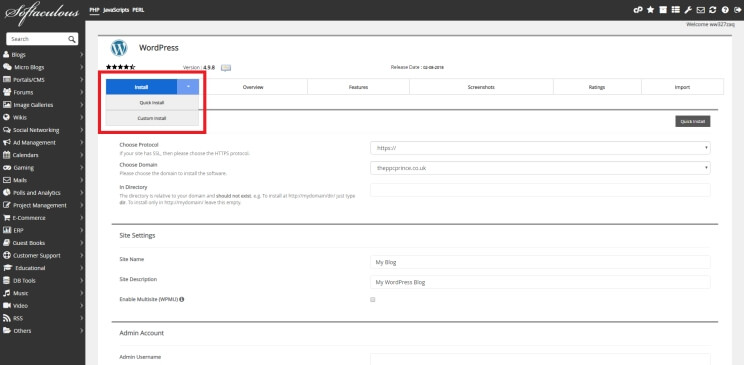
Step 4 – Choose quick or custom install
Quick Install – this is the option for you, if you have no prior experience of managing Domains, Web Hosting, SSL Certificates or WordPress Custom Install – provides additional options such as setting the HTTP protocol, Site Name, Database Name and Table Prefix, among other options. Recommended for users with experience managing Domains, Web Hosting, SSL Certificates and WordPress.
Step 4.1.1 – quick install: software setup
In this step, you’ll need to choose the domain you would like associated with your website. There is a second option, to specify the directory where your files will be stored – if you are unsure about this, leave it blank.
Step 4.1.2 – quick install: admin account
This step is really important because you will be creating your admin account, to log into your website. I recommend (for security reasons) using a unique username such as your name and the initials of your website, and avoid using usernames such as admin, administrator, web, web master, etc. In addition, you should create a secure password and a secure email address (if you have a Gmail email address, use that).
Step 4.1.3 – quick install: select plugins
While it’s not compulsory I recommend selecting this option to install the Loginizer plugin. Loginizer helps to secure your WordPress website from Bruteforce attacks.
Step 4.1.4 – quick install: install and email confirmation
You should definitely include your email address for email installation details and then click install. The email confirmation will provide a record of everything you’ve just setup for your new WordPress website.
Step 4.2.1 – custom install: software setup
In addition to the options in Quick Install (Step 4.1.1 – quick install: software setup) – custom install allows you to choose the protocol. This is necessary if you have an SSL certificate installed on your domain name to allow you to set the protocol to HTTPS. If you do not have an SSL certificate installed – you should use the HTTP protocol. If you are unsure which protocol is right for your installation, you might be better to use the quick install option.
Step 4.2.2 – custom install: site settings
In this step you can add your company or website name, and a short description (keep this to a single sentence).
Step 4.2.3 – custom install: admin account
This option is the same in quick install and custom install.
Step 4.2.4 – custom install: choose language
Choose the primary language you will be publishing content in and which your website visitors read and understand.
Step 4.2.5 – custom install: select plugins
This option is the same in quick install and custom install.
Step 4.2.6 – custom install: advance options
I recommend you do not change the advanced options unless you have previous experience managing web hosting accounts and WordPress websites.
Step 4.2.7 – custom install: install and email confirmation
This option is the same in quick install and custom install.
How to install WordPress Manual installation via FTP
1. Download WordPress
Firstly you will need to download the latest version of WordPress from WordPress.org.
Once you have downloaded the zip file you will need to extract it on your computer. In the example below we have used WinRAR to extract the folder.
2. Create your database
The next step is to create your database within your Control Panel. If you are unsure on how to do this, please use the following guide for assistance.
3. Upload WordPress files
You will now need to upload the WordPress files to your public /web folder via FTP. In our case we used Cyberduck, but you can also use a different FTP client of your choice. In Cyberduck login via FTP. Navigate to your /web folder, and click Upload.Select the WordPress files that you extracted earlier on, and click Choose.The WordPress files will then be uploaded to your /web folder.
4. Run the WordPress Installer
In a web browser simply navigate to your website.If your website address is yoursite.com and you have uploaded the WordPress files to your root /web folder, you simply need to enter yoursite.com in the address bar.The first step will be to select your preferred language.Next you will be prompted to enter your database credentials. Just click ‘Let’s Go’ to proceed.You will now need to enter your database credentials into the boxes below, and click Submit. These will be the details that you entered when you first created your database.Once WordPress has been able to successfully connect to your database, click Run the Installation.On the next page you will need to enter the required information, and click Install WordPress. It may take a couple of minutes to complete the installation.Your WordPress installation will now be complete, and you can use the button shown below to navigate to your WordPress login page.CONGRATULATIONS! You should have now installed WordPress on your Web Hosting account, and made the first leap towards launching your new website.
After Installing WordPress
Here’s a list of things you will need to do now:
Setup an SSL certificate
Secure your WordPress website
Find/buy and install a WordPress theme
Install and setup WordPress plugins
Start producing content for your website and designing pages
Just getting started with WordPress?
Creating a website can feel like a daunting task, however with our FREE WordPress for Beginners e-Book, you’ll learn how to make your own WordPress website. We’ll show you how to turn a blank canvas into a fully functional website. You’ll learn how to create new pages, posts, and content and how to use WordPress plugins and themes.
Nathan
Nathan has been with team.blue since 2005. Now working as a Marketing Executive, he spent many years in the UK contact centre, interacting directly with customers and working through any problems they may have. He is passionate about helping small businesses find the best product to help them succeed online. In his free time, he can often be found on a train travelling around the beautiful British countryside, or curled up on the sofa reading a science fiction novel.


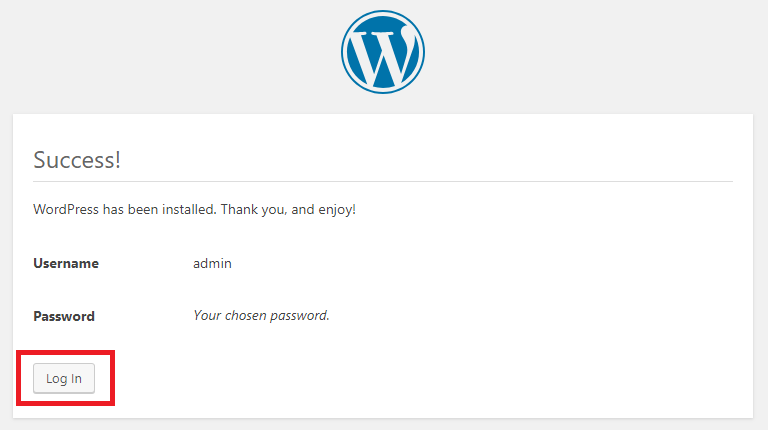
 CONGRATULATIONS! You should have now installed WordPress on your Web Hosting account, and made the first leap towards launching your new website.