What Is an SPF Record and How Do I Add One?
In this article, we will explain what an SPF record is, how an SPF record helps authenticate your domain, and how to add an SPF record to your DNS settings.
What is an SPF Record?
An SPF (Sender Policy Framework) record is a type of DNS record that helps prevent email spoofing, improve email deliverability, and reduces the risk of phishing by specifying which mail servers are authorised to send emails on behalf of a domain.
How does an SPF record work?
- The domain owner publishes an SPF record in the DNS settings.
- When an email is received, the recipient’s mail server checks the SPF record of the sender’s domain.
- If the email is sent from an authorised mail server, it is more likely to be accepted; otherwise, it may be marked as spam or rejected.
What does an SPF record look like?
An SPF record is a type TXT record, which includes 3 parts that provide different functions. Depending on who your email provider is, the record you may need to add may look slightly different.
v=spf1 include:spf.hosts.co.uk ~all- v=spf1 – Specifies the SPF version.
- include:spf.hosts.co.uk – Authorises Namesco’s mail servers (in this example) to send emails on behalf of the domain.
- ~all – Soft fail (emails from unauthorised servers may be marked as suspicious).
Fail Policies
A key part of SPF is the “fail policy”, which tells the receiving mail server what to do when an email is sent from an unauthorised server.
There are four main qualifiers (or “fail policies”) used in SPF records:
| Qualifier | Policy | Effect on Unauthorised Mail | Common Use Case |
|---|---|---|---|
-all | Hard Fail | Reject | Strict, secure enforcement |
~all | Soft Fail | Accept but flag | Testing, transitional phase |
?all | Neutral | No action | Uncertain policy stance |
+all | Allow All | Accept everything | Not recommended (insecure) |
How to Add an SPF Record to your DNS
Getting Started
To get started, you first need to log into your Online Control Panel. Unsure how to do so? Follow our guide HERE
NOTE: When making any changes to your DNS, you must make sure they are done on the correct nameservers for your domain. If you are unsure on how to check where your domain’s nameservers are kept, please follow this guide HERE.
Step One
In your Control Panel, go to Services and select Dashboard.
Step Two
In your Dashboard, click the name of the domain you want to add an SPF record to.

Step Three
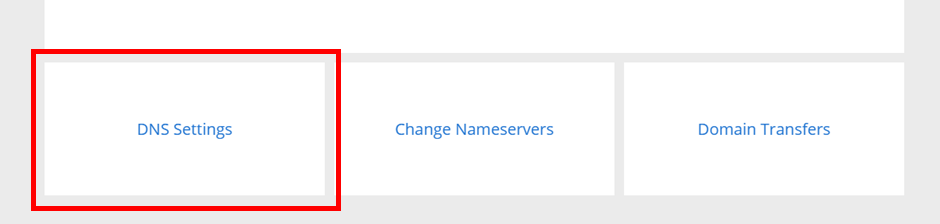
On the page you are taken to, scroll to the bottom of the page and select DNS Settings.
Step Four
In the A, CNAME records etc section of your DNS settings, in the next available row of your DNS you can enter your SPF record.

In this example we will use v=spf1 include:spf.hosts.co.uk ~all.
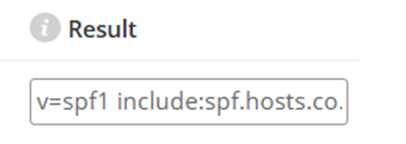
TIP: Some email providers may provide you an SPF record in this format:Host: blank or @
Type: TXT
Result: v=spf1 include:spf.hosts.co.uk ~all
You will need to confirm with your email provider what SPF record your domain requires.
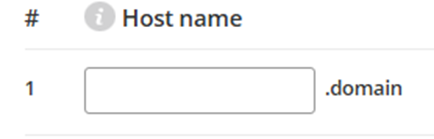
Host Name
Leave this field blank (some providers may ask you to input an @ symbol, however with our DNS settings page you just need to leave this blank).
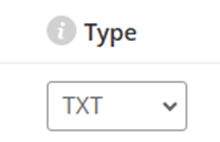
Type
Select the drop-down menu and choose TXT.
Result
In this field you will input the SPF record v=spf1 include:spf.hosts.co.uk ~all.
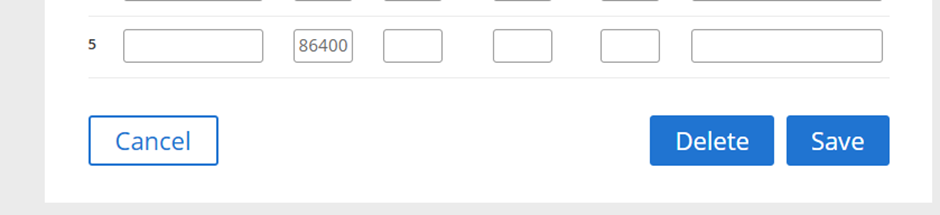
Step Five
Once you have entered the record, scroll down to the bottom of the page and click Save.
Once the record has been saved, you then need to wait 24 – 48 hours for DNS propagation to occur.
NOTE: You can only have one SPF record in your DNS settings or your domain will be rejected by most email providers for having incorrect authentication. If you need to have multiple policies active on your domain, you will need to combine the SPF records into one valid record.
Why This Article Also Mentions DKIM
While this article focuses on SPF, modern email authentication relies on multiple checks working together. Many email providers no longer assess SPF in isolation when deciding whether to accept, reject, or filter an email.
For this reason, we also reference DKIM (DomainKeys Identified Mail) in this article to provide a complete picture of how email authentication works today.
- SPF confirms that the sending mail server is authorised to send email for your domain
- DKIM confirms that the email content has not been altered during delivery
If only one of these methods is configured, emails may still fail authentication checks. Explaining both ensures you understand why SPF alone may not be sufficient and what additional steps may be required to improve email deliverability.
How DKIM Works with SPF
DKIM authenticates the content of an email, but it does not verify whether the sending server itself is authorised. This is handled by SPF.
- SPF validates the sending mail server
- DKIM validates the integrity of the message
- Together, they provide a complete authentication setup
If DKIM is enabled without SPF, emails may still fail authentication checks. For best results, both SPF and DKIM should be configured.
Enabling DKIM with Namesco
DKIM can be enabled if:
- Your domain’s nameservers are pointing to Namesco
- You have a compatible Namesco email product
If these conditions are met, DKIM can be enabled automatically.
Steps:
- Log in to your Namesco Online Control Panel
- Navigate to Email Services
- Select the relevant email package
- Choose Enable DKIM
Do I Still Need SPF If DKIM Is Enabled?
- Yes.
- DKIM does not replace SPF. SPF confirms the sending server is authorised, while DKIM confirms the message is authentic. Most receiving mail servers expect both to be present.
If you have any further questions, simply raise a support request from within your Online Control Panel or call us on 0345 363 3634. Our Support team are here to help and ready to assist you with your enquiry.
For assistance raising a support request please follow the following guide.