How to Upload files using FTP to Apache Hosting
When making a website, you need to put this somewhere on the internet to become live.
One of the ways you can do this is uploading files via FTP.
This guide will show you how to upload your files to our Apache Hosting using FTP.
Before you continue with this guide, you must have access to your Online Control Panel as the main account holder. If you need further help with this, then see this guide here.
What is FTP?
FTP (File Transfer Protocol) is a method of uploading and downloading files to a location (In this case a web server).
For this process, we recommend you use an FTP client. Throughout this guide we will be using FileZilla
Step One
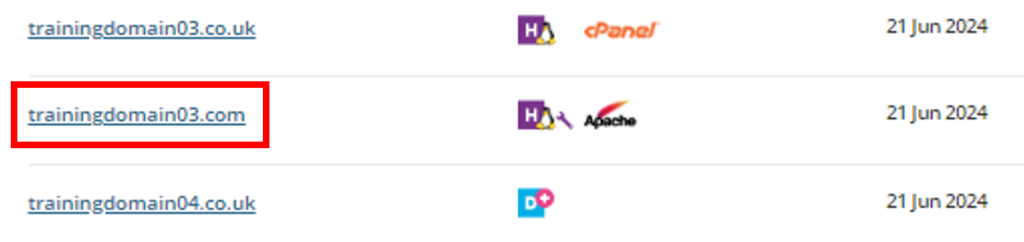
Head to the Services tab and go to Domains & Services.
Next select the domain name you will be uploading content for.
Step Two
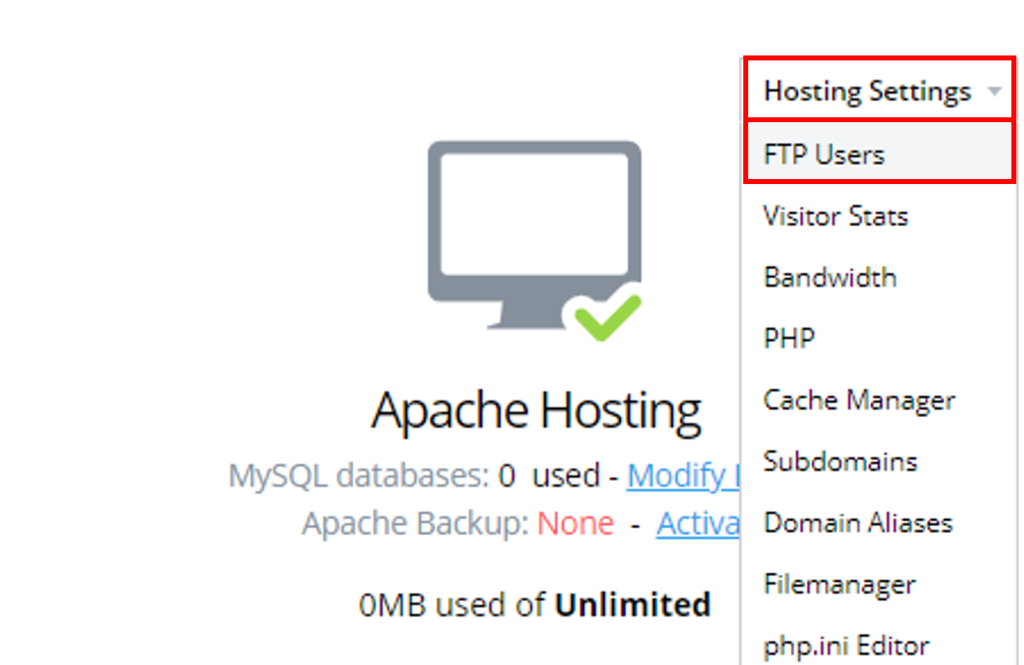
Select the Hosting Settings and then FTP Users from the drop-down menu.
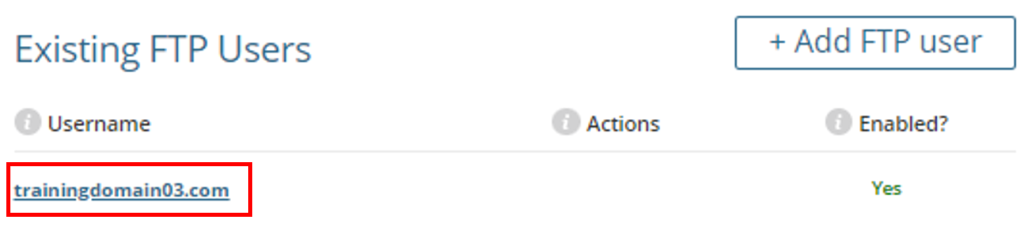
And select the Existing FTP User displayed.
Step Three
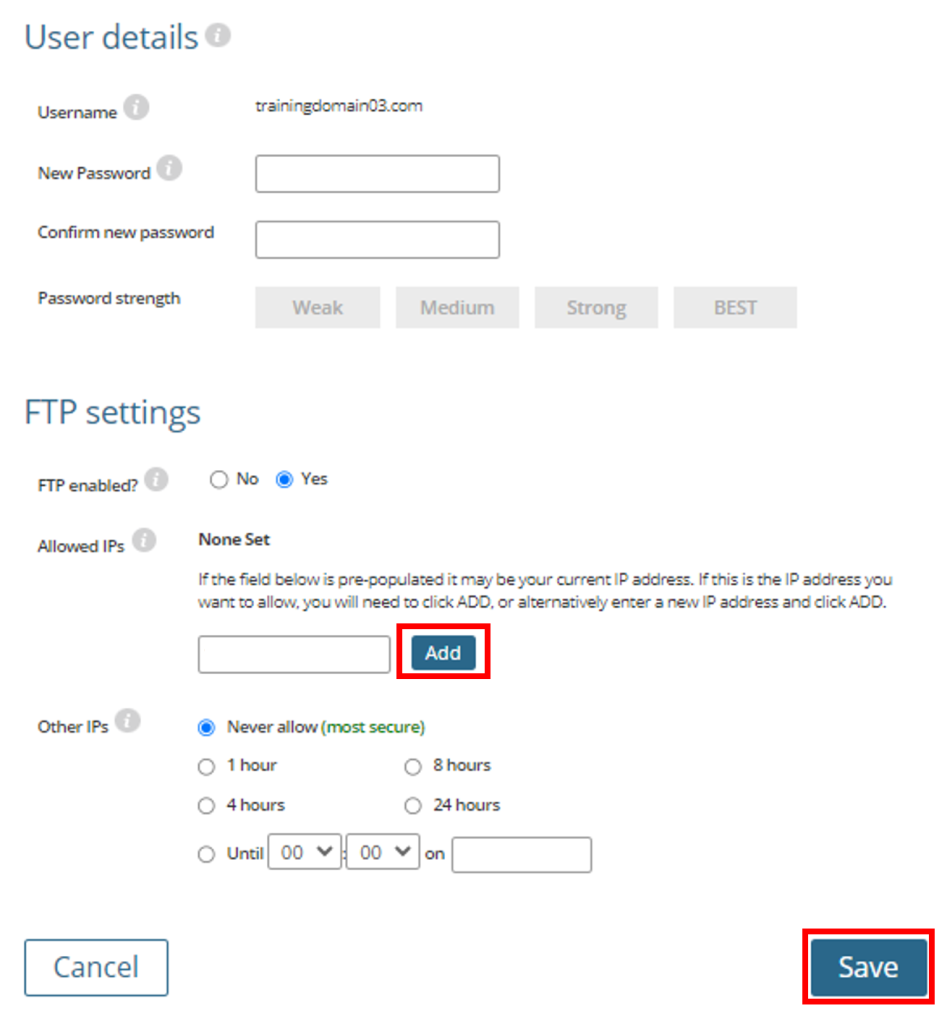
Once here you’ll need to put your IP address in, normally our system will pre-populate the IP for you but you might need to alter it.
If you are unsure of your specific IP then you can select an amount of time that your client won’t search for an IP address. Either select one of the amounts provided or a specific time and day up to 30 days.
You also need to set a password. This can be done by entering a password into New Password and then repeating this again in Confirm New Password.
Once you are happy, click Save and then you are ready to open FileZilla or your chosen FTP Client.
Step Four
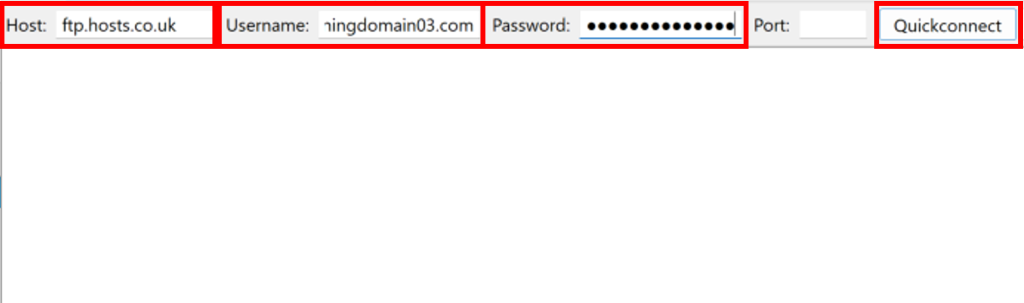
Once you are in your Client you will need to include your Host Name, Domain Name, and FTP Password.
Note: The Host Name and Username can be found back on the FTP users screen.
It also asks for the Port. We use the default and therefore you can leave this blank and it will connect automatically in FileZilla.
Note: If you’re using a different FTP client needing you to specify the Port, we use Port 21.
Then click Quick Connect and this will connect you to the server.
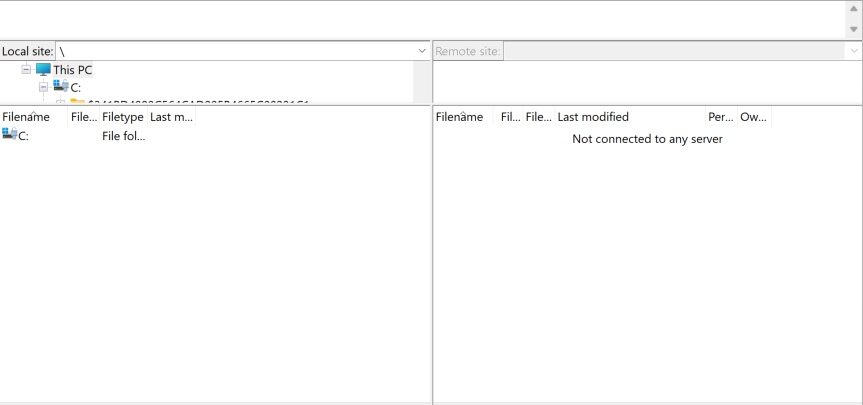
Step Five
You should now be connected to the Server and will be presented with a screen similar to the below:
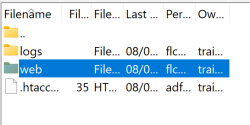
On your screen there should be a set of folders on the right. Go to web then drag and drop your website files into this folder and they will start to upload.
Allow a few minutes for these files to upload and then check the file manager in your control panel to see the files there.
If you have any further questions then please raise a support request from within your Online Control Panel or call us on 0345 363 3632 and our customer support team will be happy to help.