How To Enable DKIM On Your Domain in Microsoft 365
In this article, we will show you how to enable DKIM on your domain for Microsoft 365 email. Enabling DKIM in Microsoft 365 helps protect your email by adding a digital signature to outgoing messages. This makes it easier for receiving mail systems to verify that your emails are genuine and haven’t been changed.
Getting Started
To get started, you first need to log into your Microsoft Admin area located at https://login.microsoftonline.com/ with your Admin username and password.
TIP: Unsure where to find your Admin details? If so, please refer to our support guide HERE.
Step One
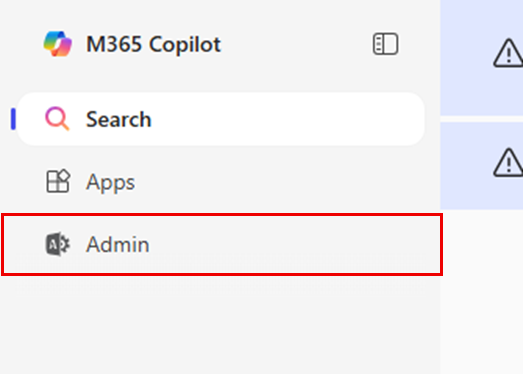
To begin, select Admin from the menu column on the left-hand side of the page.
Step Two
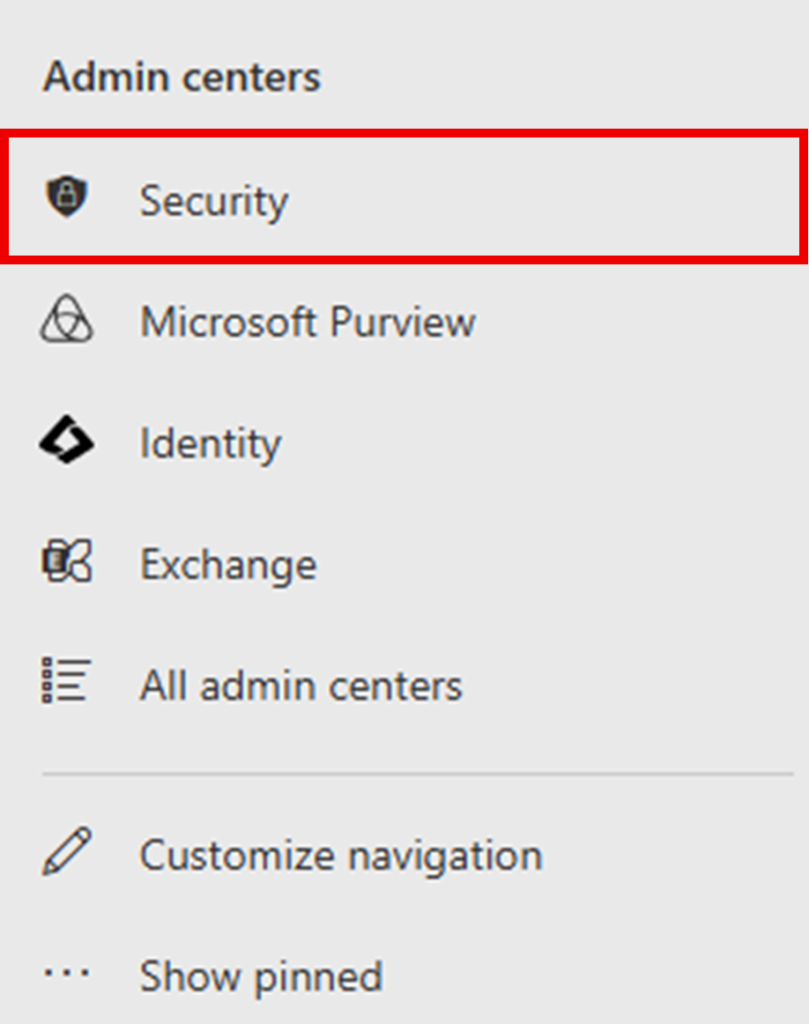
Select Show all from the menu column on the left-hand side of the page, then select Security.
Step Three
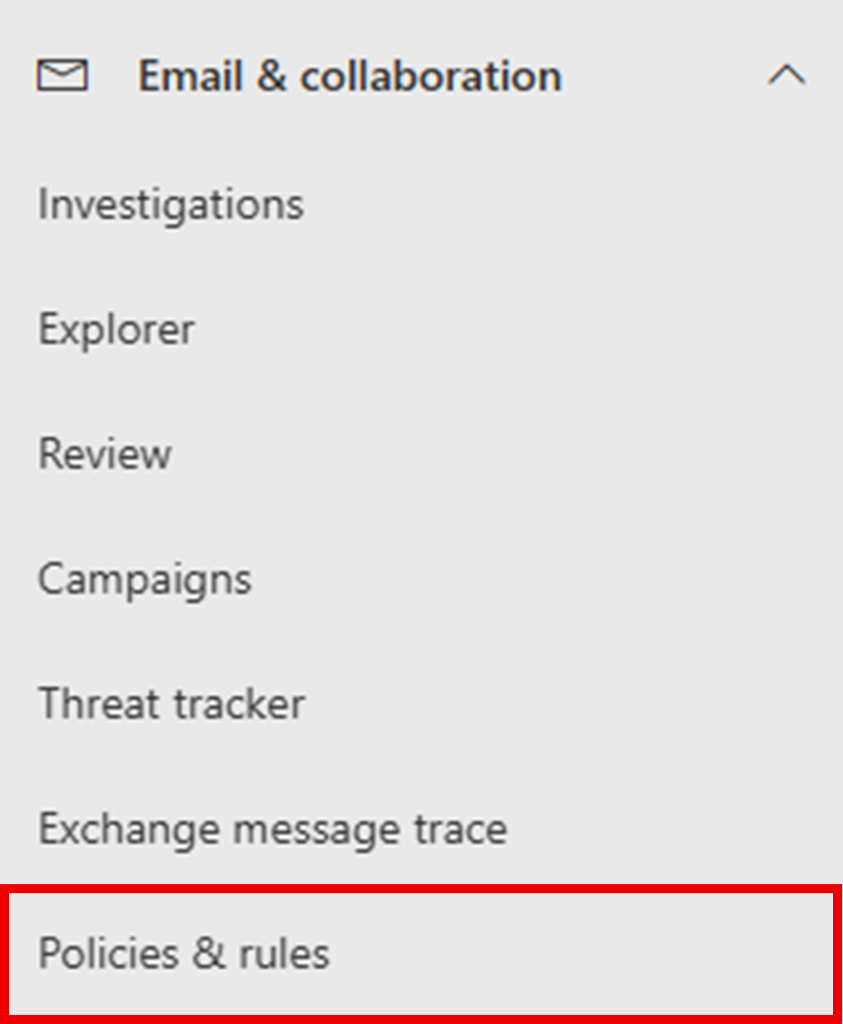
On the Microsoft Defender page you are taken to, select Email & collaboration < Policies and rules.
Step Four
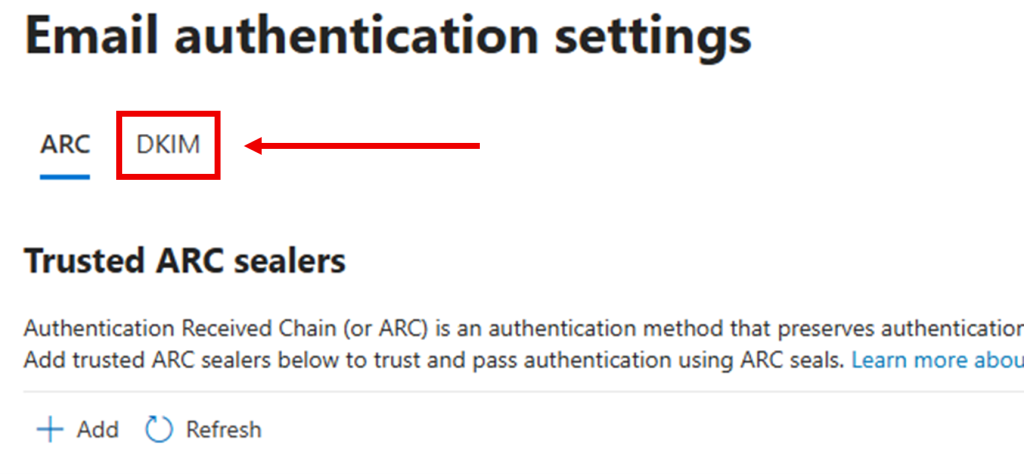
Select Threat policies, then Rules < Email authentication settings.
Step Five
Next, select the tab for DKIM.
Step Six
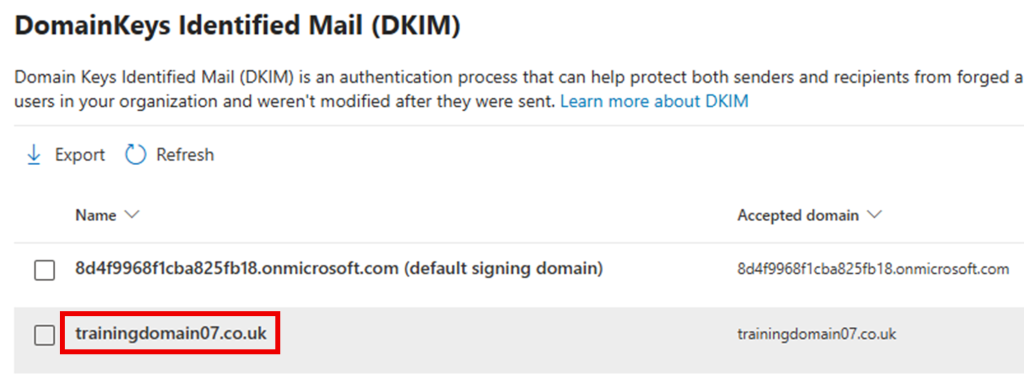
Select your domain name.
Step Seven
NOTE: You will now undergo the process of adding your DKIM records to your domain. In this guide, we will guide you on inputting these settings on our nameservers, but your domain’s nameservers may be held externally. If you are unsure where your domain’s nameservers are held, you can follow our guide HERE.
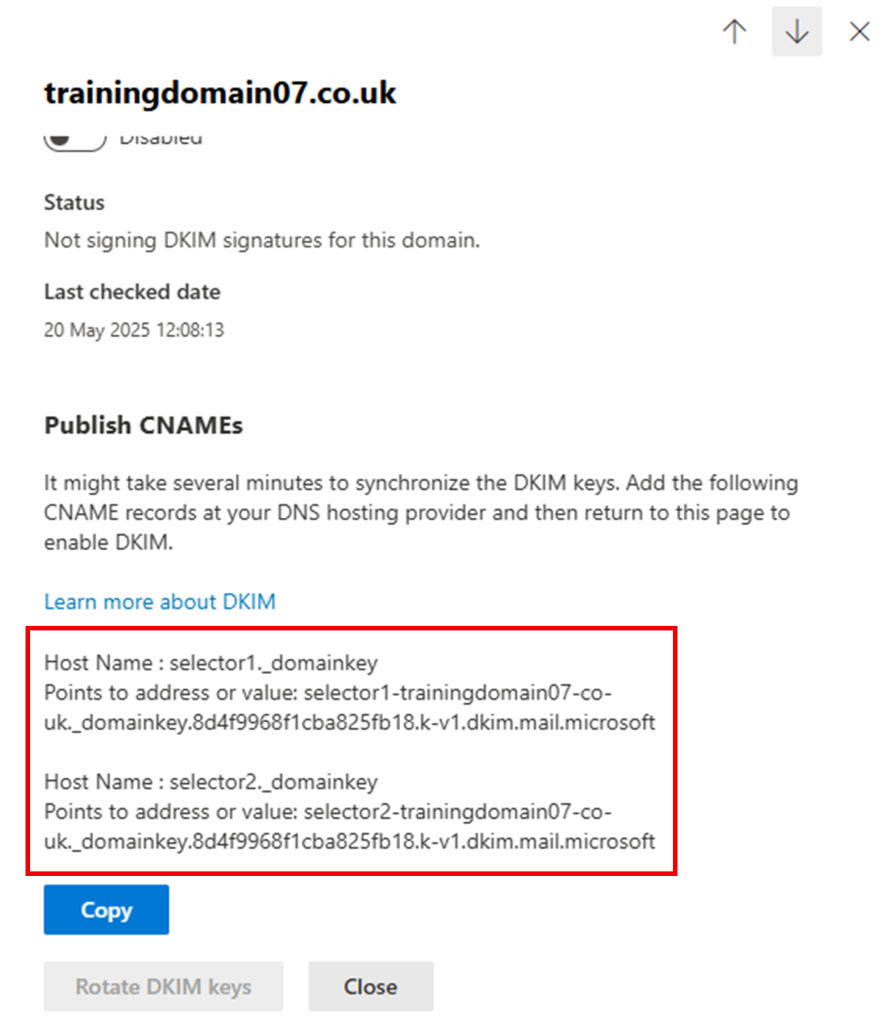
In the panel that appears on the right-hand side of the page, you will be presented with two CNAME records.
They will be formatted as:
- Hostname / Type / Result
selector1._domainkey / CNAME / selector1-mydomain-co-uk._domainkey.8d4f9968f1cba825fb18.k-v1.dkim.mail.microsoft
and
selector2._domainkey / CNAME / selector2-mydomain-co-uk._domainkey.8d4f9968f1cba825fb18.k-v1.dkim.mail.microsoft
Open a new tab in your web browser, enter these records into your domain’s DNS administration area, and publish the changes.
TIP: If you are unsure on how to administer your DNS settings with us, you can follow this guide HERE.
If you are inputting your CNAME records on our nameservers, the entries will look like this:

Step Eight
After the CNAME records have been published on your domain, you will need to allow minimum 1 hour and maximum 48 hours for these DNS changes to take effect.
NOTE: If you have since logged out of your Microsoft Defender Portal, please repeat steps 1-6.
Step Nine
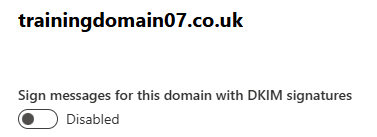
After the necessary amount of time has elapsed, enable the toggle switch for Sign messages for this domain with DKIM signatures.
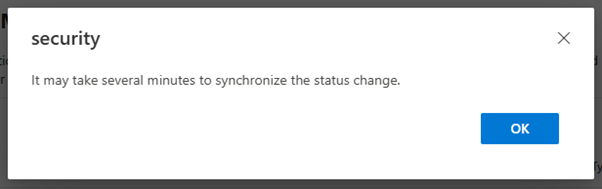
Finally, select OK on the pop-up box that appears to complete the set up.
If you have any further questions, simply raise a support request from within your Online Control Panel or call us on 0345 363 3634. Our Support team are here to help and ready to assist you with your enquiry.
For assistance raising a support request please follow the following guide.