How to add a Shared Mailbox
In this article, we will show you how to create a Shared Mailbox in the Exchange Admin centre. A Shared Mailbox is a type of mailbox in Microsoft Exchange and Microsoft 365 that allows multiple users to access and manage the same email account. It’s commonly used by teams or departments to handle general inquiries or support requests.
Getting Started
To get started, you first need to log into your Microsoft Admin area located at https://login.microsoftonline.com/ with your Admin username and password.
TIP: Unsure where to find your Admin details? If so, please refer to our support guide HERE.
Step One
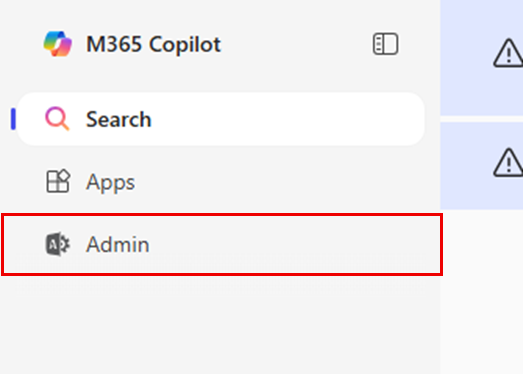
To begin, select Admin from the menu column on the left-hand side of the page.
Step Two
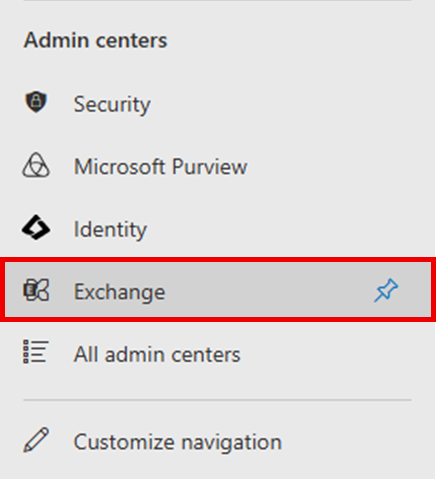
Select Show all from the menu column on the left-hand side of the page, then select Exchange.
Step Three
On the page you are taken to, select the Add a shared mailbox tab.
NOTE: If you are unable to see this option, you may first need to select Mailboxes in the menu column on the left.

Step Four
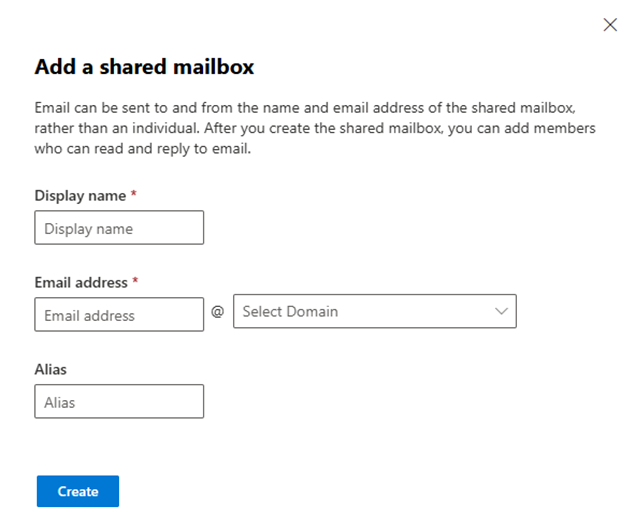
You will now be presented with several fields to fill out:
- Display name
The name that will appear to users in their email clients (like Outlook). Choose a name that is relevant to the purpose of the shared mailbox e.g. HR Team, Technical Support, Sales etc.
- Email address
The email address that users will be able to send and receive email to.
- Alias (optional)
Another name for the email address. If no alias is chosen, it will use the same name as the email address.
Step Five
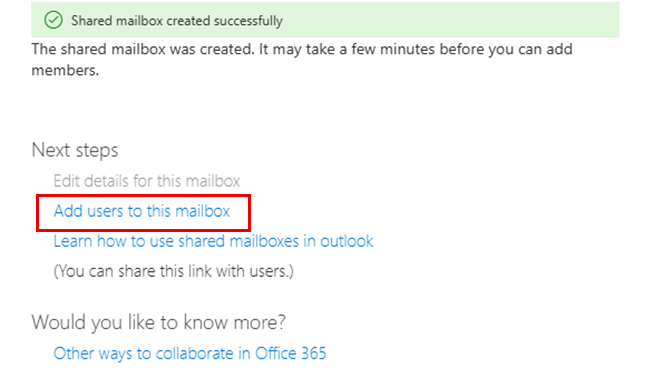
With the mailbox now created, the next step is to add the appropriate users who will be using it. Under Next Steps, click Add users to this mailbox.
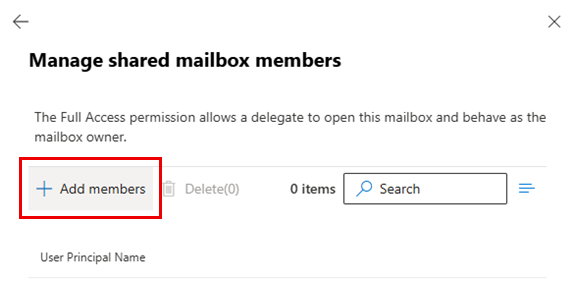
Step Six
Select Add members.
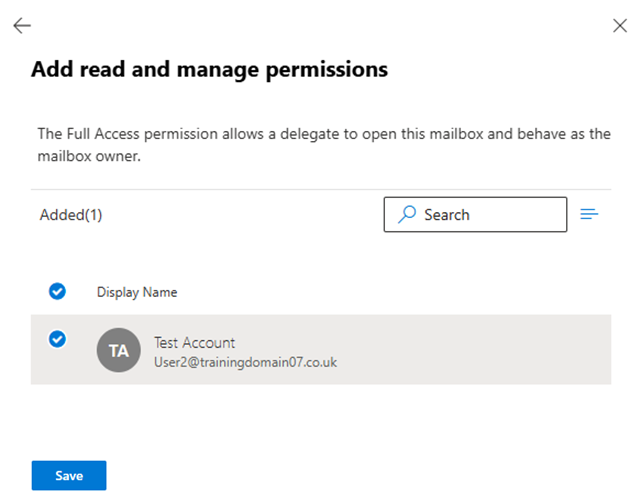
Step Seven
Choose the required user(s) from the available list, then select Save.
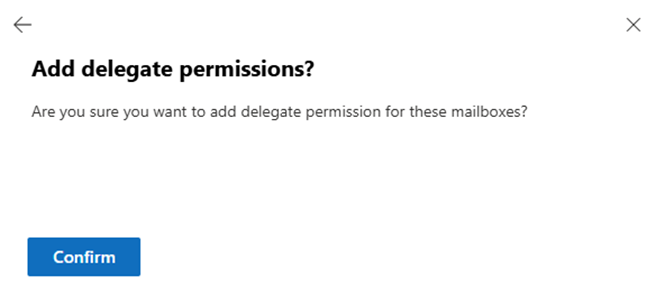
Step Eight
When asked if you want to add delegate permissions for these mailboxes, select Confirm.
If you have any further questions, simply raise a support request from within your Online Control Panel or call us on 0345 363 3634. Our Support team are here to help and ready to assist you with your enquiry.
For assistance raising a support request please follow the following guide.