How to set up a POP3 account in Microsoft Outlook 2013
This article will guide you through configuring your email on Outlook 2013.
Names.co.uk does not support third-party software or devices. For more information on Outlook, please visit http://office.microsoft.com
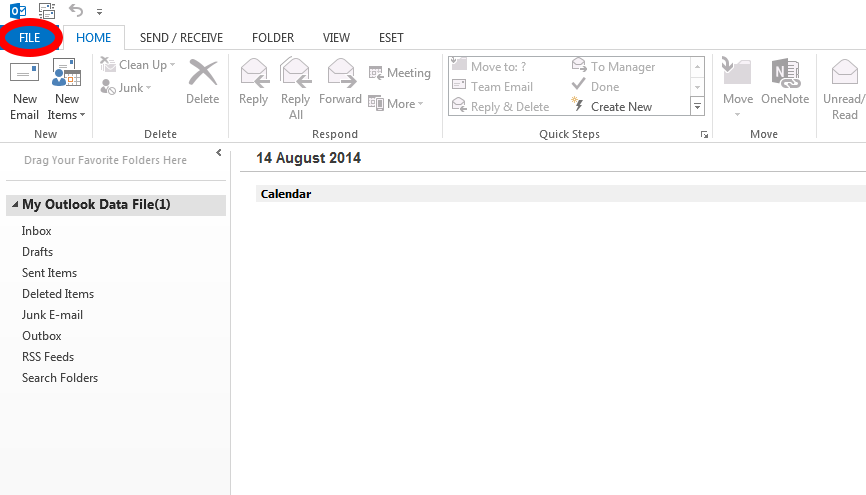
The first step to set up your emails is to find and select File
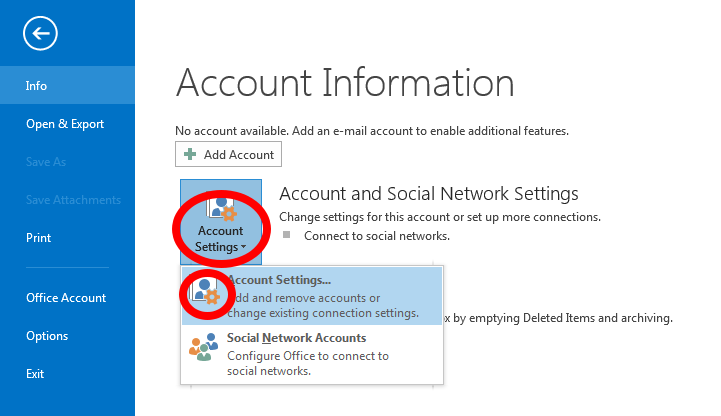
Next select Accounts Settings, as shown below.
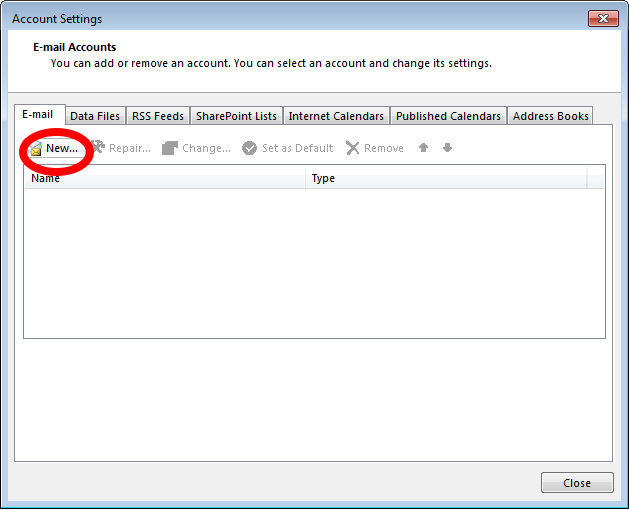
Once in the Account Settings click New to add a new Email account.
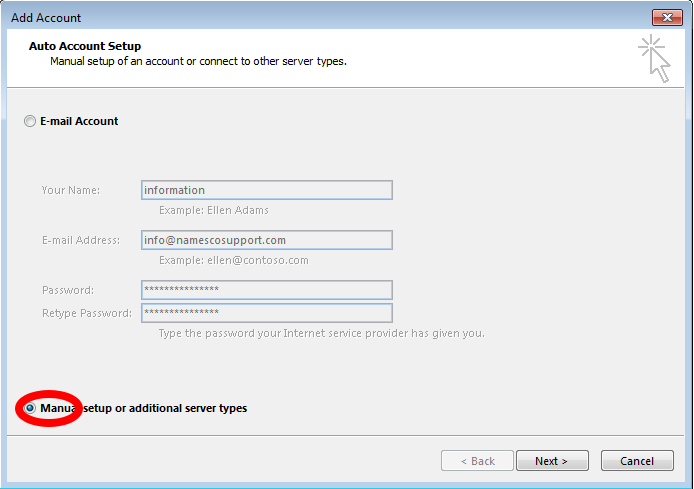
On the Auto Account Setup select the option Manual setup or additional server types then click Next >
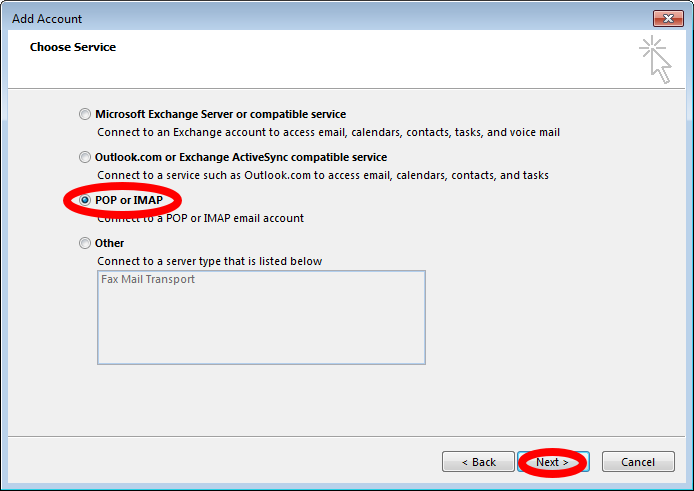
On the next screen select the type of account you are setting up, in this article we are setting up an POP account, so select POP or IMAP from the list and click Next >
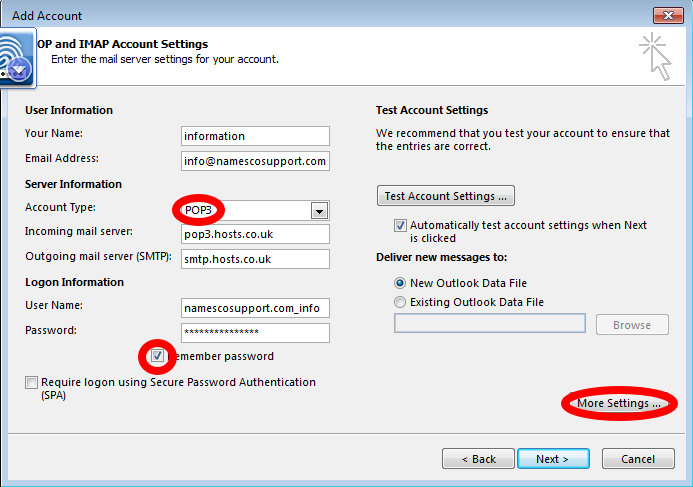
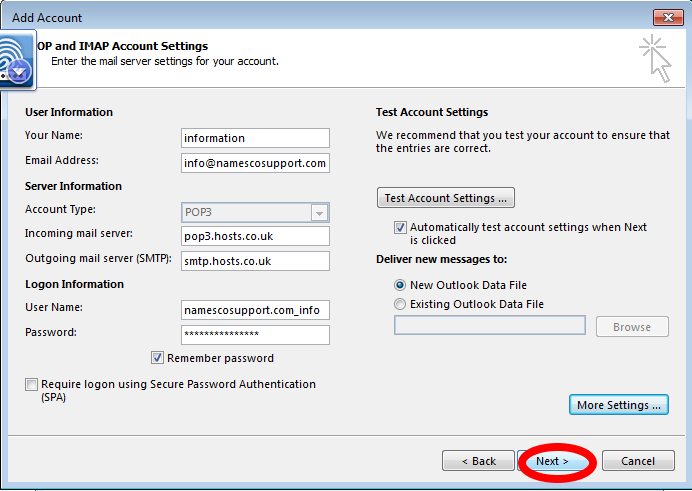
Next we need to enter our server settings as follows:
- Your name – enter your own name or company name depending on what you would like recipients to see.
- email address – enter the email address you are setting up
- Account Type – POP
- Incoming mail server – pop3.hosts.co.uk
- Outgoing mailserver (SMTP) – your SMTP server will be smtp.hosts.co.uk only if you your have purchased Authenticated SMTP Access, if you need to purchase this product please contact our Sales team on 0345 363 363 2
- User Name and Password – Your Username and Password are as you have set up in your Online Control Panel, if you are unsure of your Username and or Password please see this guide to reset your Password, www.names.co.uk/support/articles/how-to-change-your-email-password/
Once you have entered your details click More Settings
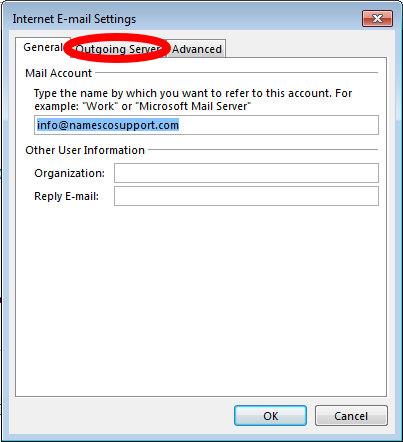
Now we need to enter the outgoing SMTP details, select Outgoing Server from the tabs at the top.
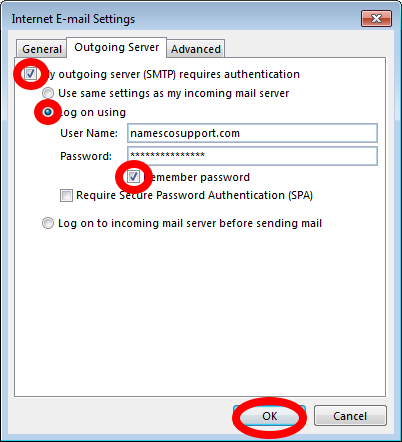
Tick the box labelled My outgoing server (SMTP) requires authentication then select the option Log on using
Your Username and Password are as you have set up in your Online Control Panel, if you are unsure of your Username and or Password please see this guide to reset your Password, www.names.co.uk/support/articles/how-to-reset-your-authenticated-smtp-password/
Once you have entered the details click OK
This will take you back to the Account settings page, simply click Next to complete the setup.
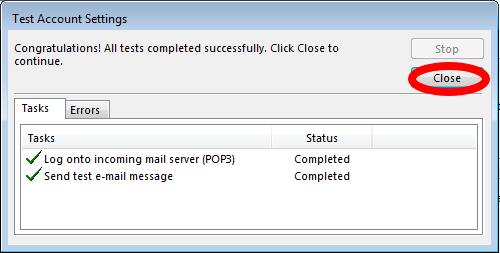
All being well the Test Account Settings box will return a successful connection. If so just click Close to return to and finish the setup.
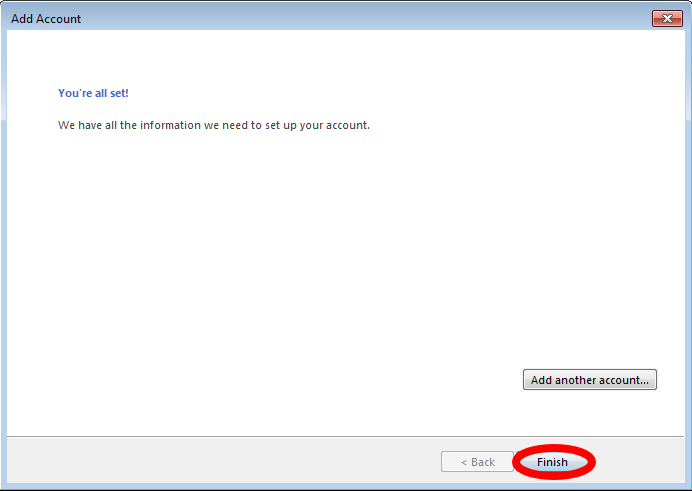
And finally just click Finish to complete the setup.
Important Note – Moving from POP3 to IMAP
Switching an email account from POP3 to IMAP changes how your emails are stored, synchronised, and deleted.
With IMAP, emails remain stored on the mail server and are mirrored across all devices. Any action taken in one location — such as deleting, moving, or organising messages — will automatically apply everywhere. Deleting an email on your phone, for example, will also delete it from your desktop and webmail.
Under POP3, emails are downloaded to a single device and can be removed from the server. Deleting a message only affects that device, which can create differences between devices but also prevents global deletion.
Changing from a POP3 connection to IMAP will result in existing locally stored emails not being present on the server, and messages can be permanently deleted or lost if they are not backed up beforehand, depending on how the email client is configured.
To prevent permanent data loss, you must create a full backup of your mailboxes before making this change. If you are unsure how to back up your emails, additional guidance or managed assistance may be available.