How to configure and use CoffeeCup FTP Client
A guide to help you configure and use the FTP client CoffeeCup
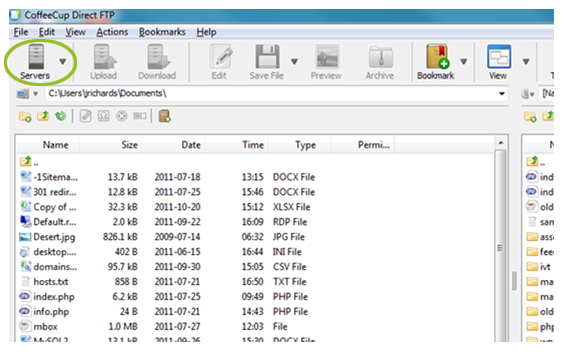
– Open CoffeeCup and click Servers
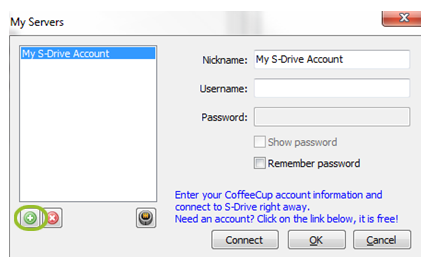
– Click the green ‘+‘ icon to create a new connection
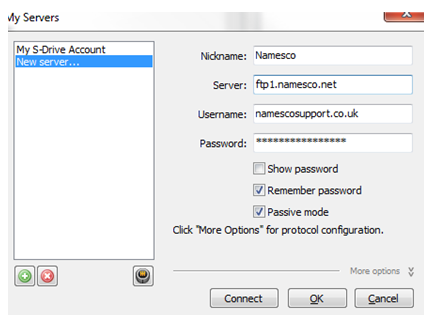
– Enter your FTP details as provided by the Namesco Technical Support Team via email then click Connect
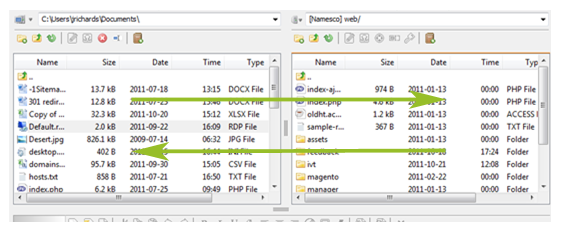
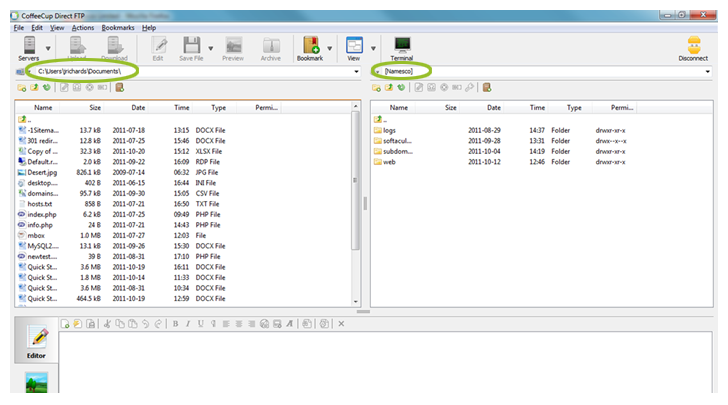
– Once connected, your screen will display your local files (Local Site) on the left hand side and your hosting space on the right hand side (Remote Site)
– Open the Web directory from the Remote Site and simply select the files you wish to upload from the Local Site. Once you have selected your files, click the Upload button.
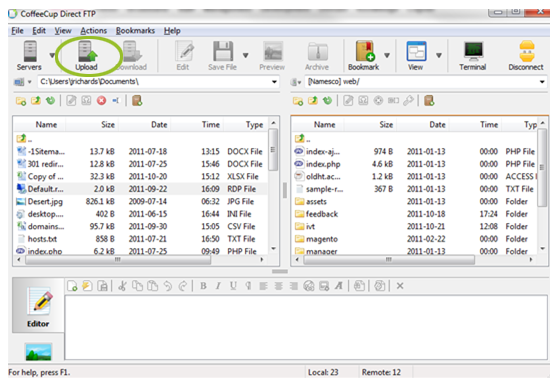
– Alternatively you can simply ‘drag and drop’ your files from left to right