How to add a Map to Website Builder
Info: This article applies to Website Builder purchases made before 14th January 2025. For further assistance, please contact our support team.
Adding a map to your website is a great way of showing website visitors exactly where your shop or event is located. You could even use it to indicate where car parking or places of interest are located.
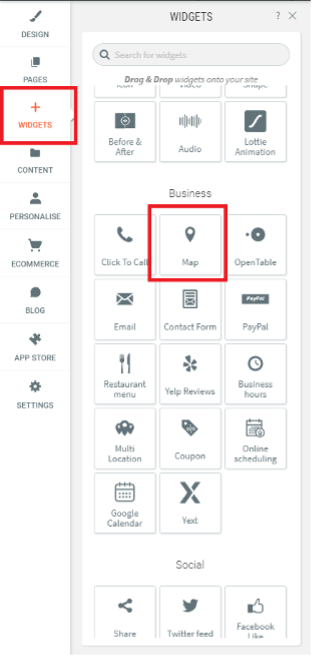
To add the map click on the Widgets icon within Website Builder to access the widget library and then look for the Map widget. It’s usually located within the Business and Popular categories, or you could use the search bar at the top to look for it.
Drag it over to the part of the website where you’d like the map to appear and it will snap into place and open a pop-up window that allows you to configure the widget.
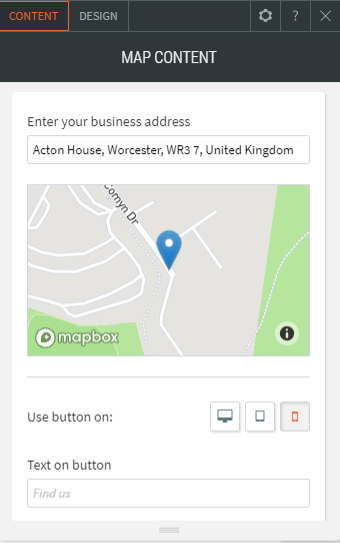
The only necessary step is to type in your business address and you’ll see the pin on the map updates to that location.
You can also choose to display a map button instead of a map image if you like.
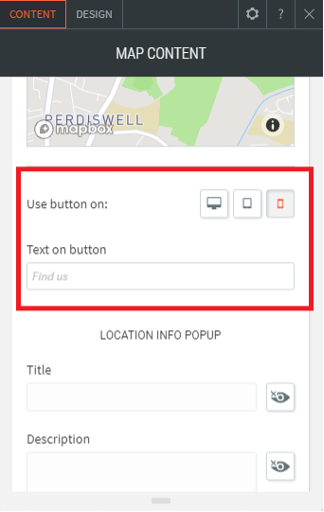
To display a map button on specific devices, select the Use button on where you want the button to appear. If no devices are chosen, the map image will be displayed.
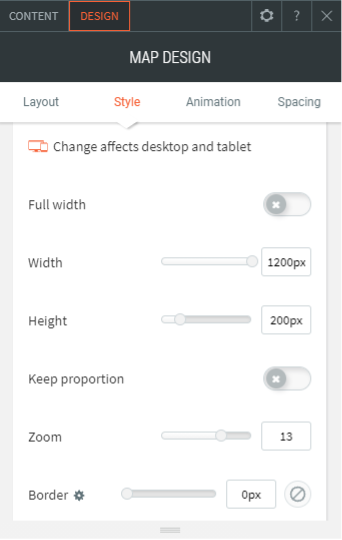
On the Design tab up at the top you can also customise various aspects of how the map is displayed, such as its width and height, or whether it has a border.
Tip: Another great way to engage with customers is to make it easy for them to call you. Make sure you also read our article on how to add your phone number to your website that a customer can “click to call”.