Backups & Snapshots
Simply put, a backup is a copy of the content on your VPS that has been taken at a specific and regular point in time, such as once a week. This can then be used to restore your VPS back to that point.
A snapshot is very similar to a backup, but it can be taken at any point in time. A snapshot can be taken just prior to an OS upgrade, a major module installation or an application upgrade.
If something goes wrong with the upgrade then you can quickly restore the server back to the point that you took the snapshot.
Here’s an introduction to the backup and snapshots process:
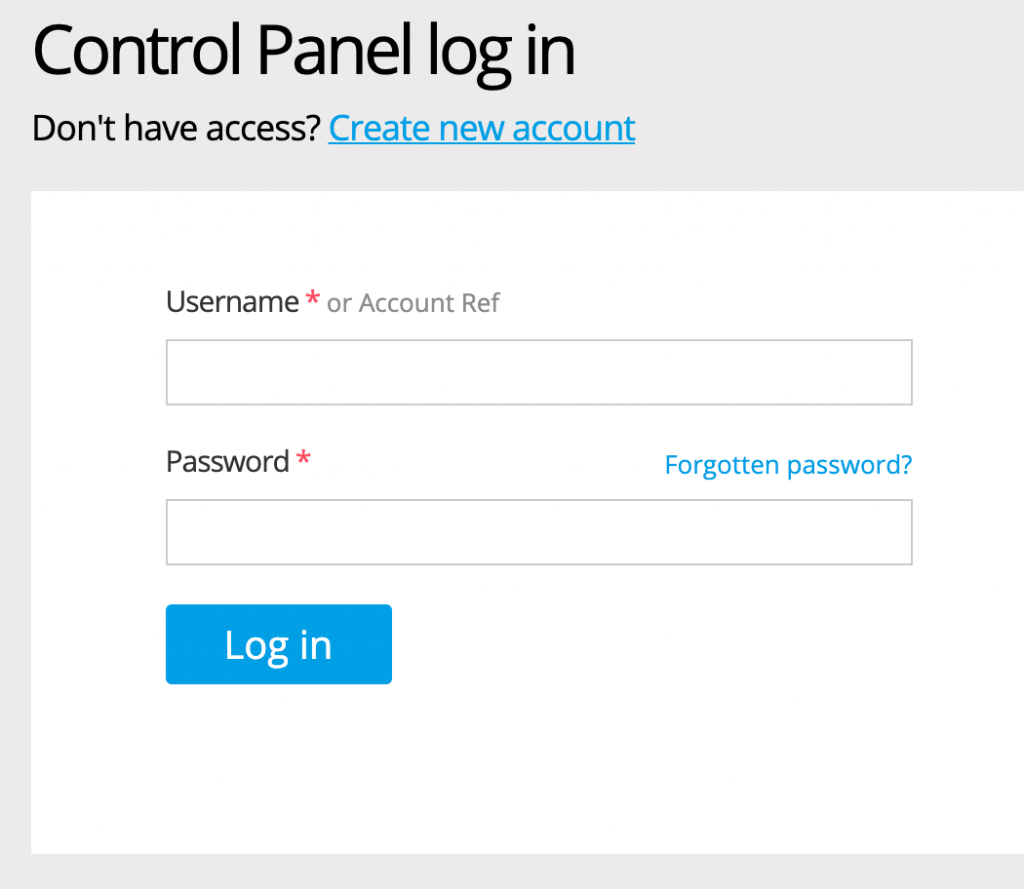
Step 1
First, log in to your control panel.
Enter your username and password as you have set for your account.
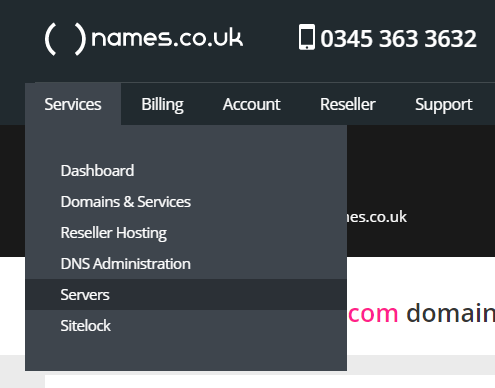
Step 2
Once logged in, hover over the Services tab and click on ‘Servers’.
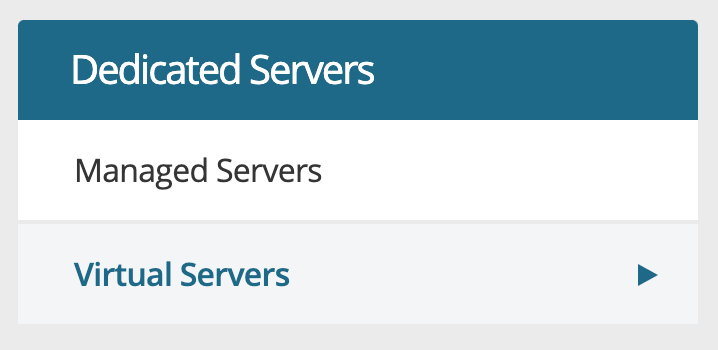
Step 3
Click on ‘Virtual Servers’.
Step 4
When the page loads, you’ll see information regarding your VPS, you’ll be able to click on ‘Backups & Snapshots‘ from the left hand side.
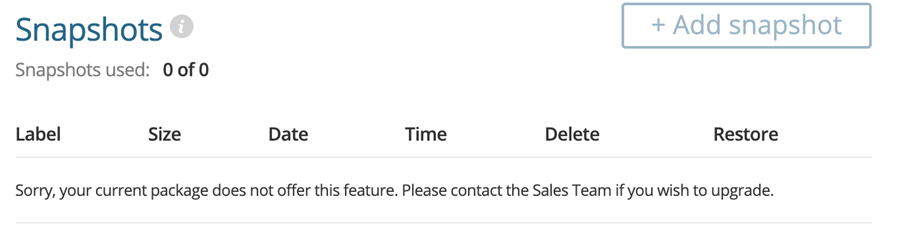
You will see that this page contains information regarding the snapshots and backups that are being taken on your VPS.
Info: Snapshots aren’t available on the XS package, but are included with all packages above this level.
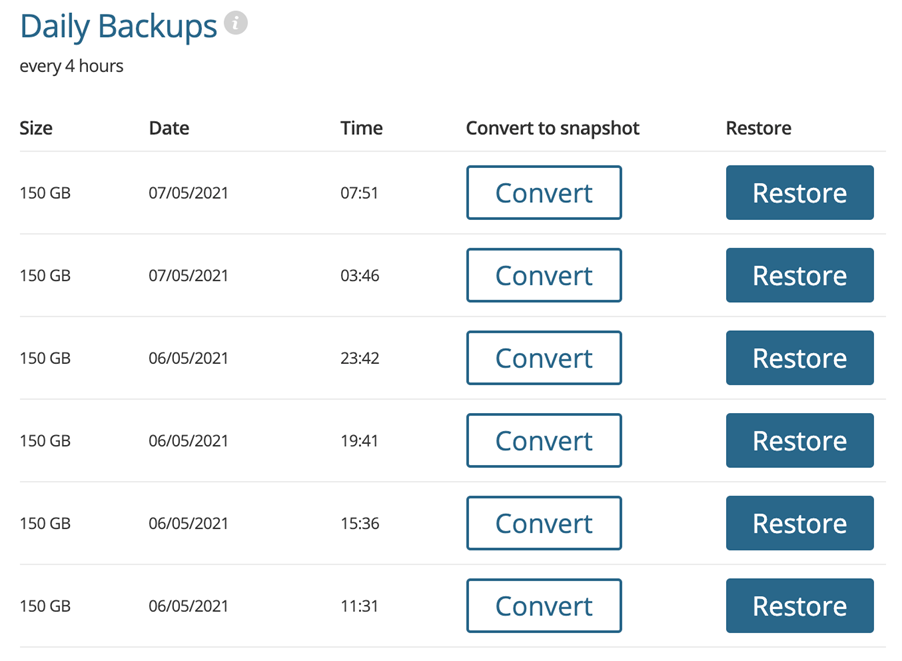
Backups are taken every 4 hours over a 24 hour period and then rotated, the oldest backup will be overwritten when the next backup is taken for a maximum of 9 stored backups.
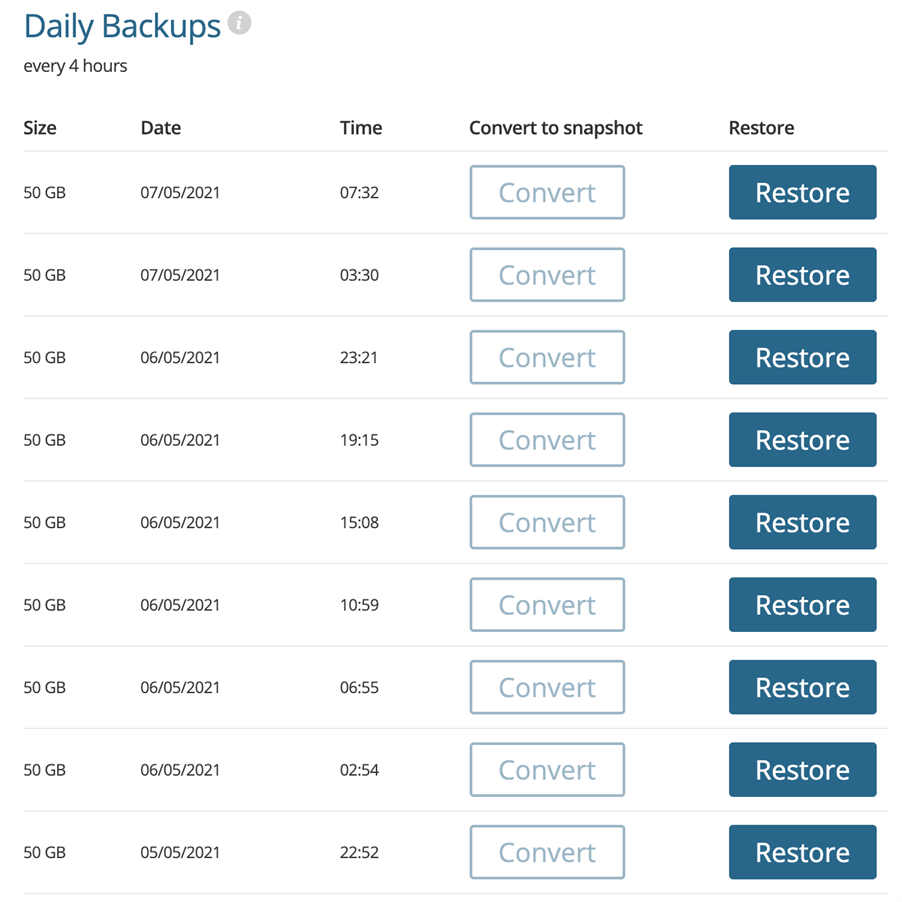
Restoring a backup
To restore from a backup, click on the “Restore” button.
Then confirm the restoration.
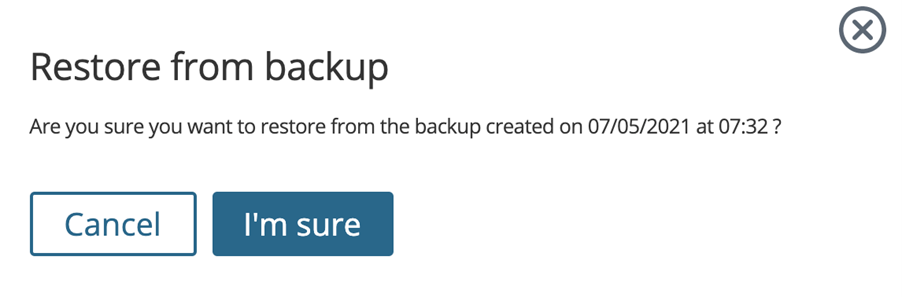
The restore will run, but will need time to complete.
Creating a snapshot
Two options are available with snapshots.
Step 1
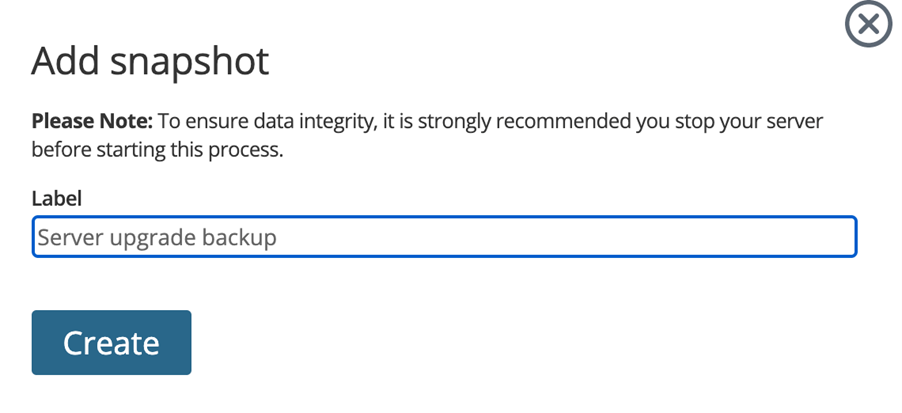
You can either create a snapshot from scratch by clicking the “Add snapshot” button, or you can convert an existing backup to a snapshot.

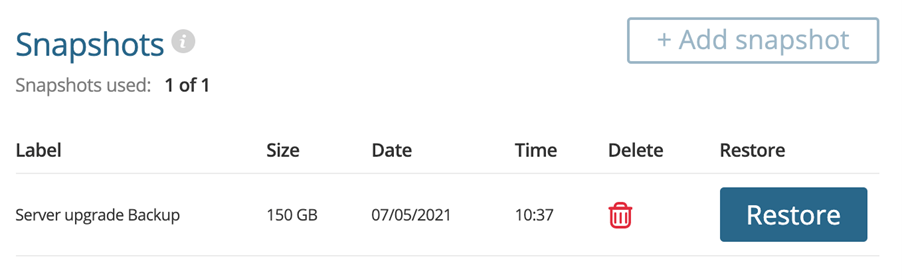
Please note: You can only have one snapshot at any given time.
Step 2
After clicking the “Add snapshot” button, create a label for the snapshot. Our example is called ‘Server upgrade backup‘ in this case.
Step 3
Now that the server has been stopped, we can proceed with creating a new snapshot
Click the “Create” button and the server snapshot process will begin.
Once this has completed, the captured snapshot will display in the control panel, as shown in the example below:
You can now restart the server.
Creating a snapshot from a backup
You can convert a backup to a snapshot without having to stop the server, and means that you don’t have to create a snapshot from scratch.
Step 1
Choose the backup that you wish to convert to a snapshot from the list of existing backups.
Click the “Convert” button when ready.
Step 2
Name the snapshot by filling in the ‘Label‘ field.
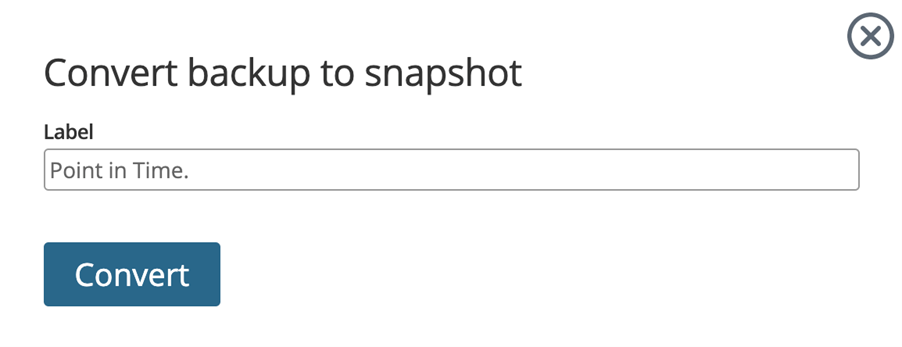
Once this field has been filled in, press the “Convert” button once more and the backup will now be converted to a snapshot.
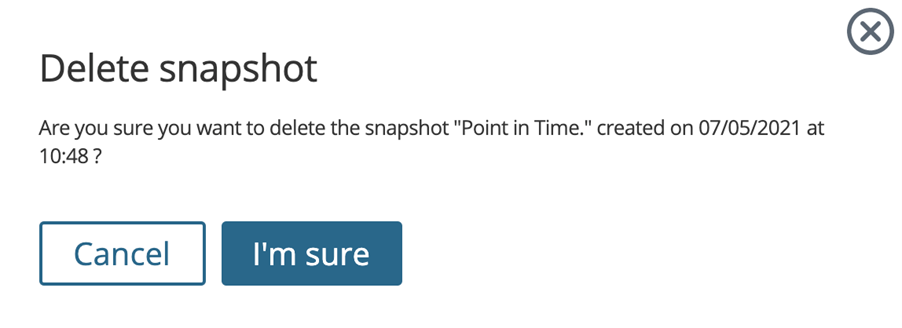
Removing a Snapshot
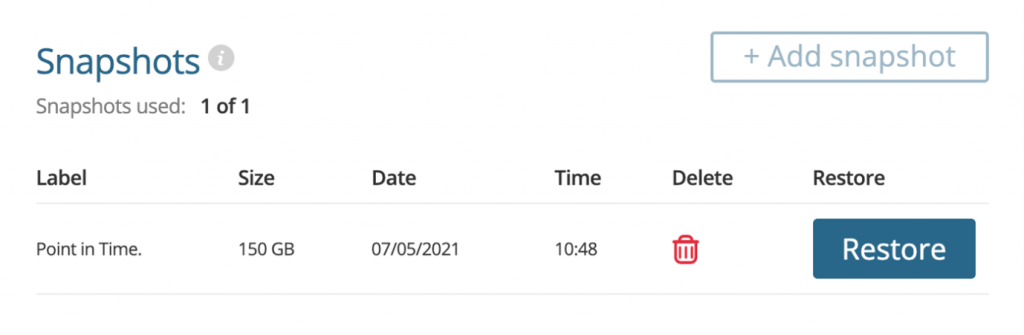
To remove a snapshot from the server storage, you can just click the rubbish bin icon as shown in the example below:
A dialogue will appear asking you to confirm this action: