Using Apache Backups
Our Apache Hosting is backed up each night but the backups are generally available only for our use. You can purchase an optional add-on product called Apache Backup which will then provide you with direct access to our own backups of your website. This will provide you with increased peace of mind, and allow you to recover from any file deletions by restoring the file from a backup.
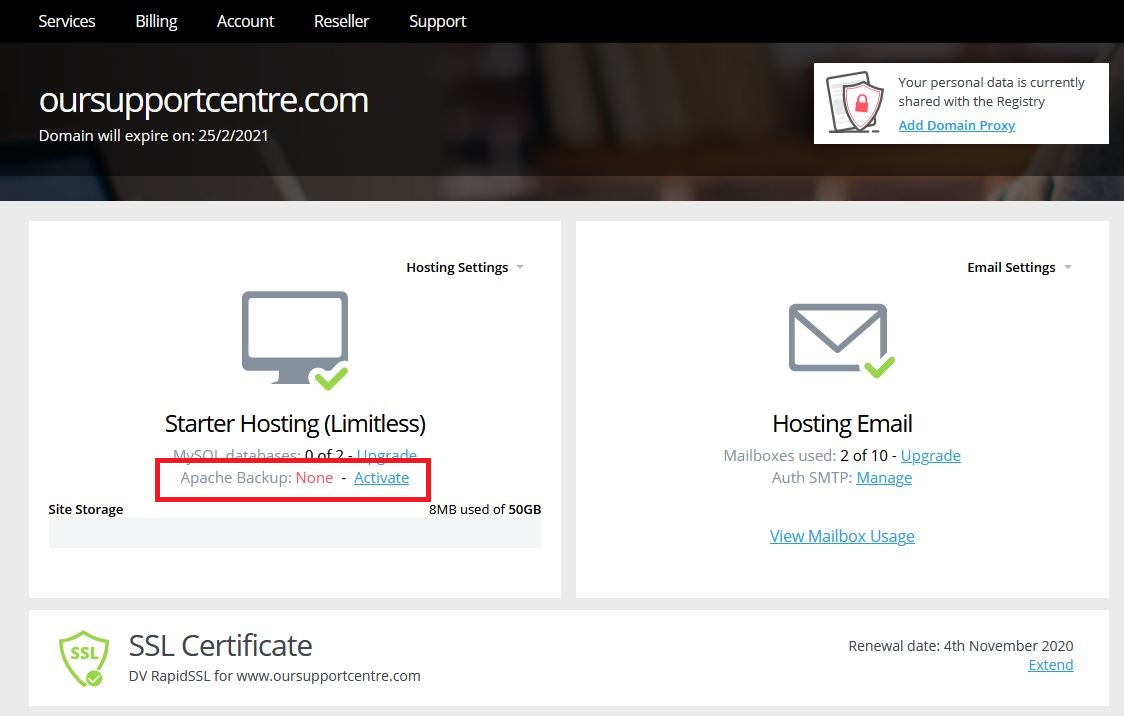
Once logged into your Control Panel, click on the necessary domain (if you have more than one).
If the domain does not currently have Apache Backup you will see an option to activate it.
This will take you through to a payment page, where you can purchase the product.
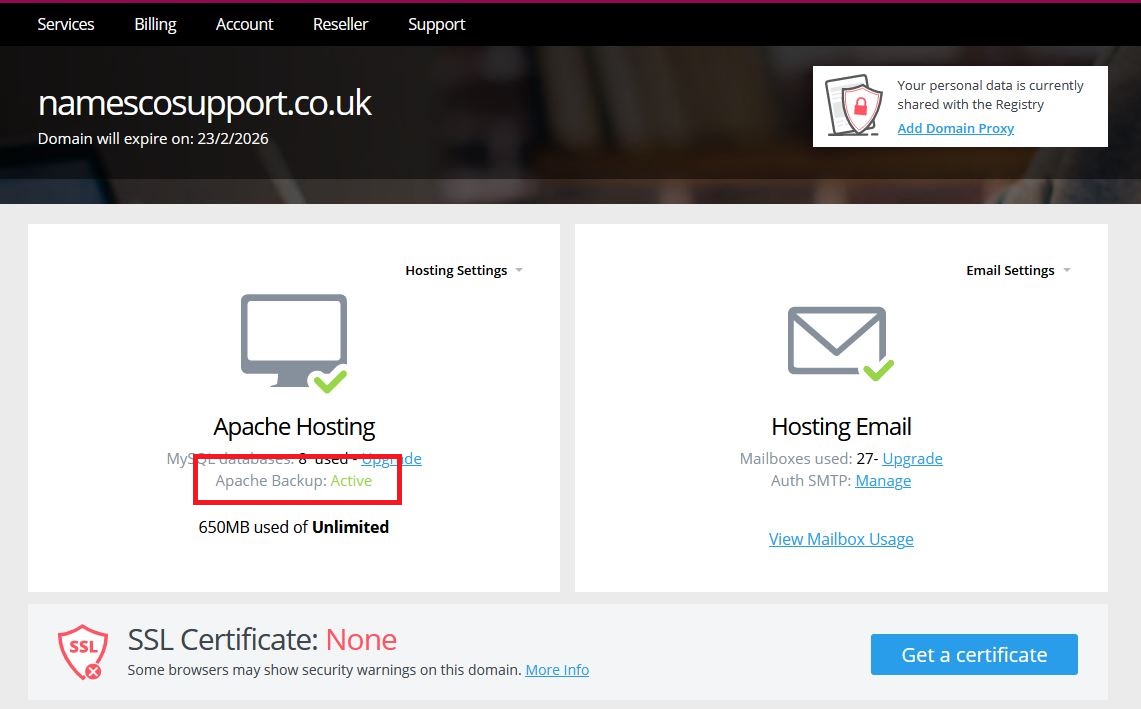
Once Apache Backup has been purchased, you will see the following.
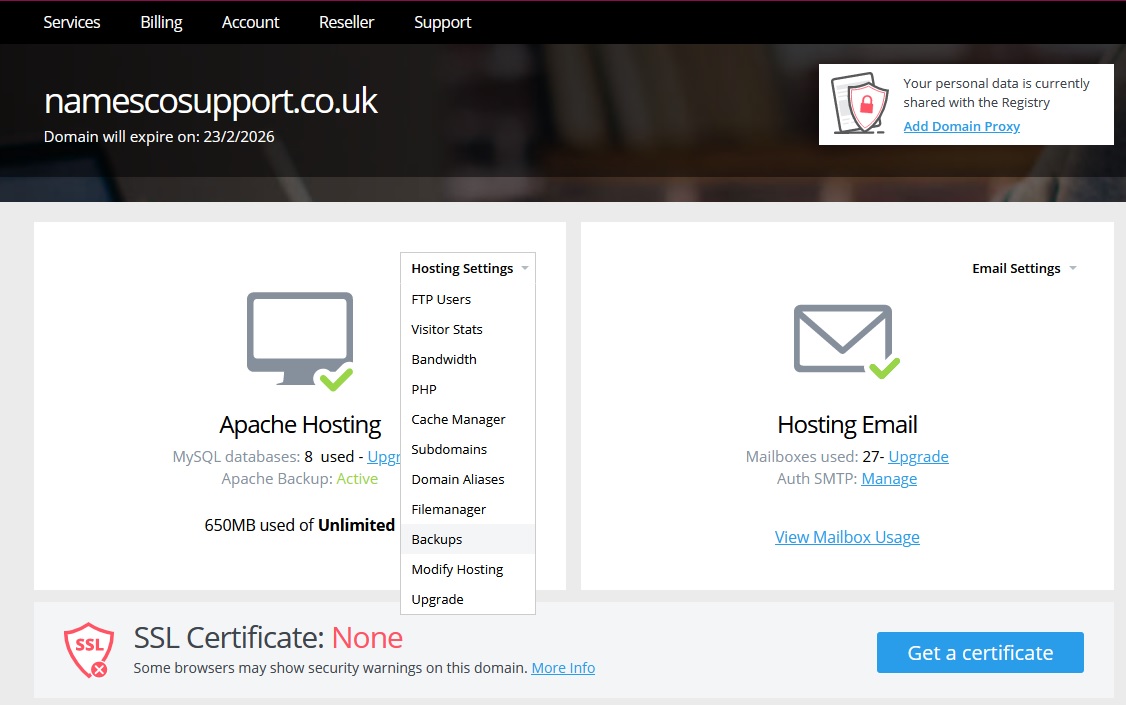
In order to access the backups, you should click on the Hosting Settings drop-down menu and select the Backups option.
You will now see a list of the various backups we hold for this domain, labelled with the date and time that they were taken.
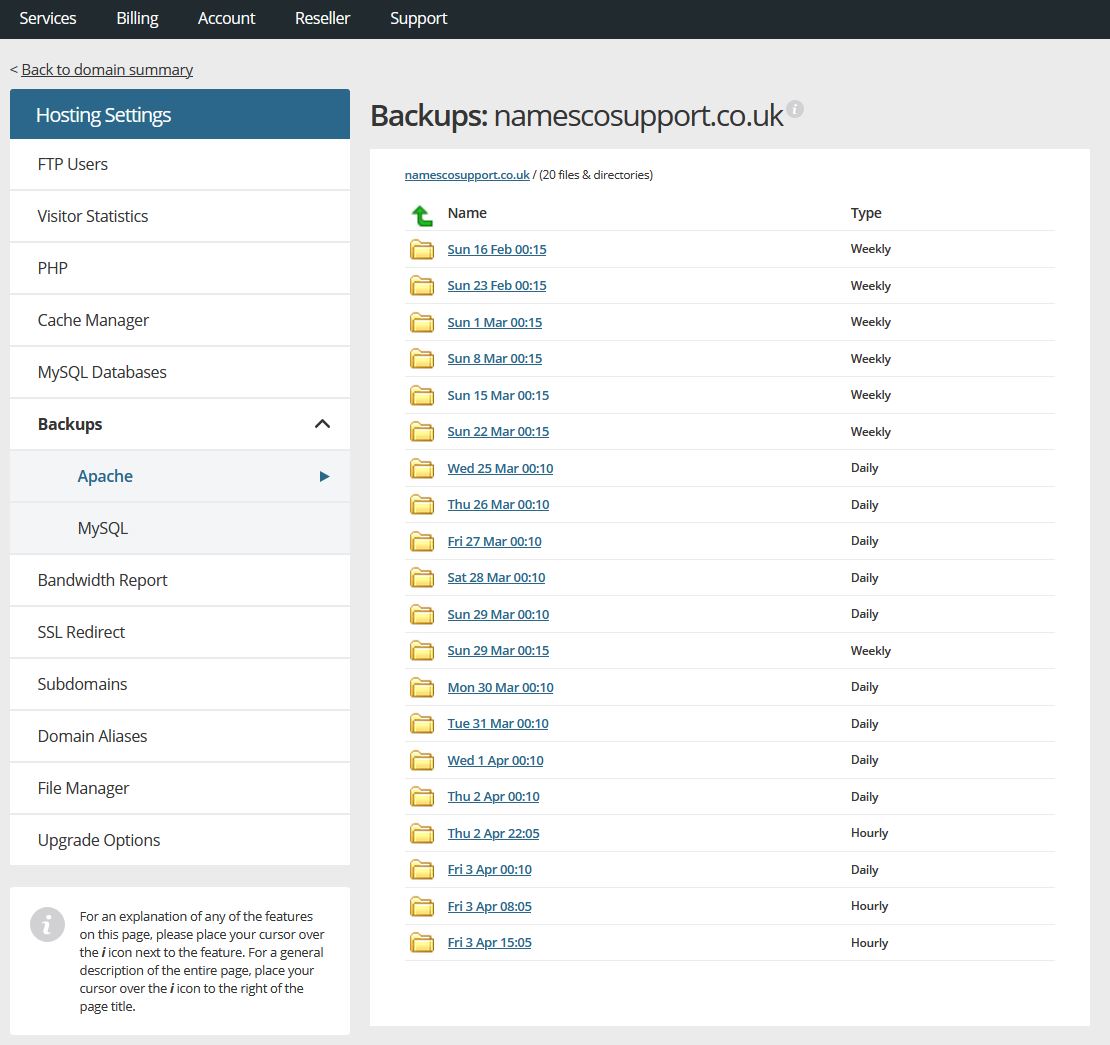
Clicking on each backup will allow you to see the contents of it. Remember that your website files would normally be stored in the folder called web.
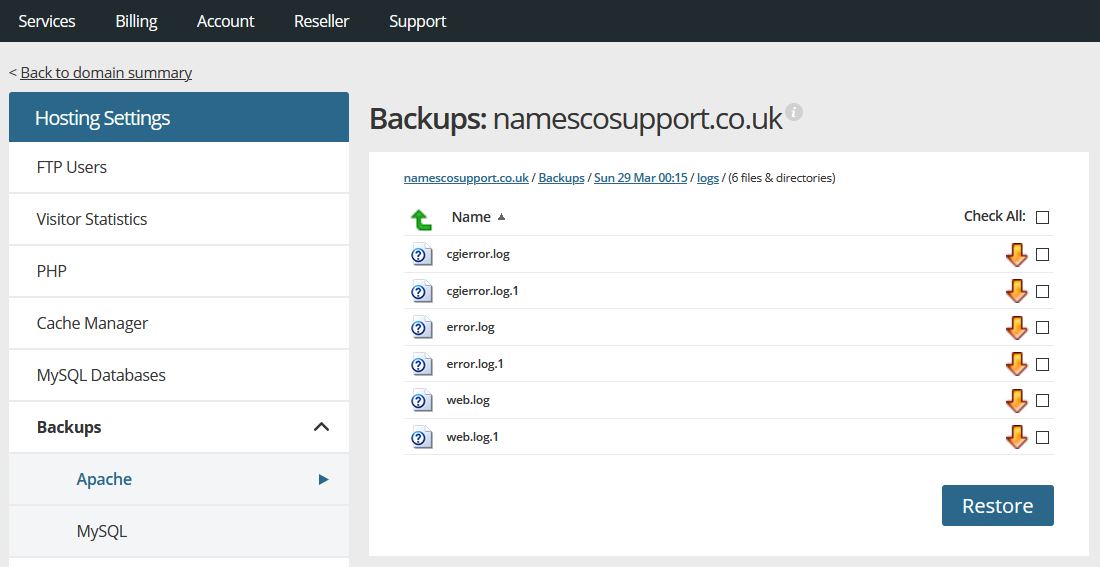
Beside each file is an arrow icon which will allow you to download it to your computer. Alternatively, you could tick the box to the right and then click on the Restore button.
This will begin the process of retrieving that file from the backup, and once done it will be placed in your webspace in the folder called restored. Bear in mind that if you have selected a lot of files, or even a whole folder, to be restored, then it may take a few minutes for the process to complete.
Once the process has completed you can then access the restored folder in your webspace to see the files, and copy or move them to wherever you would like them to be.
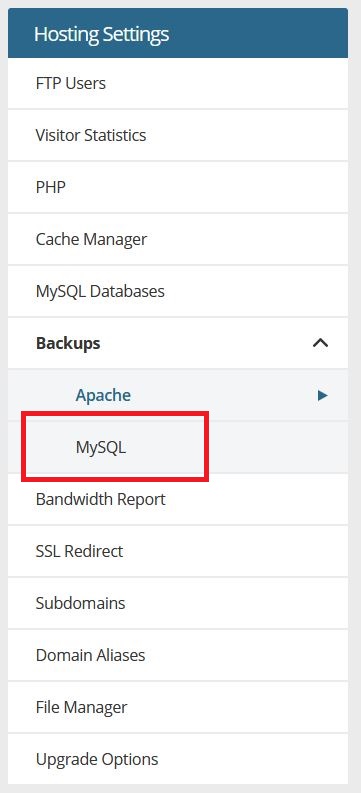
If you are looking for a backup of your MySQL database then you will need to click on the MySQL link in the left menu, as shown below.
You can then choose the relevant database from the drop-down menu, and then select which backup you would like.
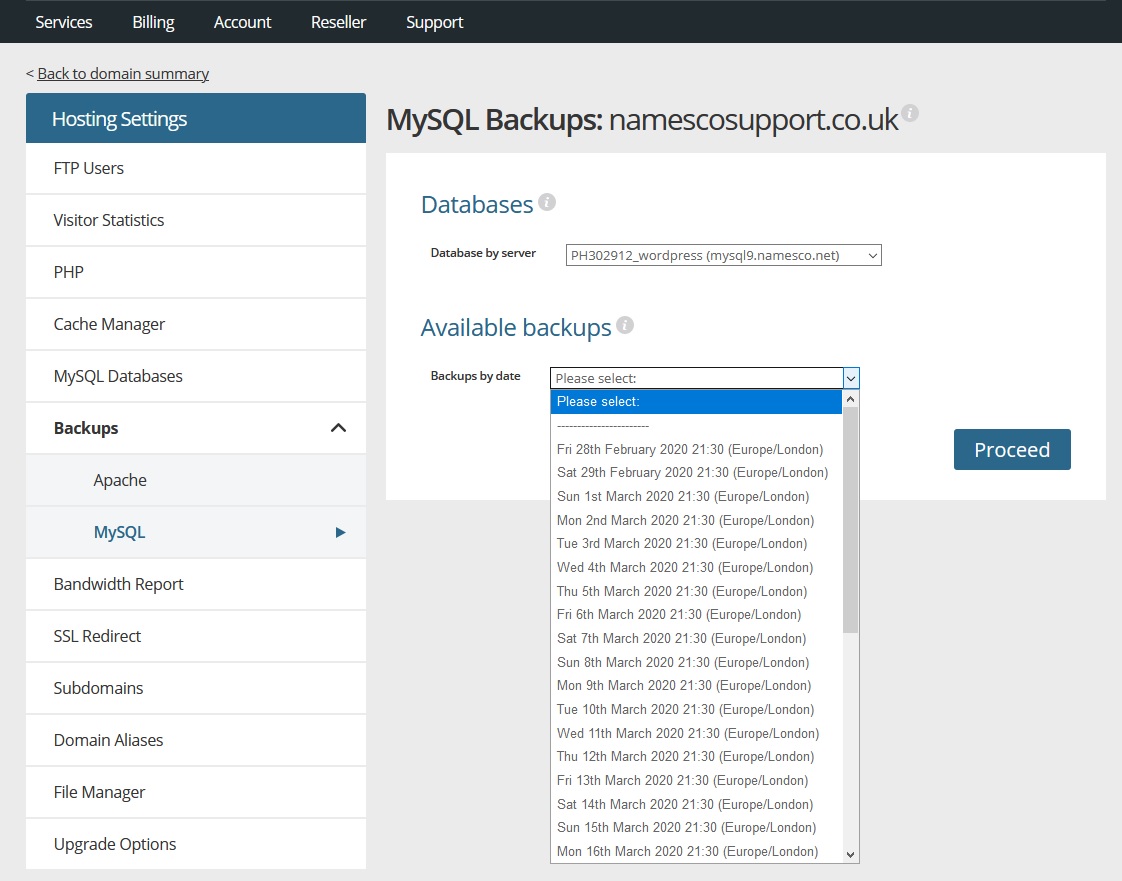
After choosing the required backup, clicking on Proceed will commence the process of retrieving that database from the backup. This may take a few minutes to complete, after which you will find the database located in the restored folder as a .sql file.
If you have any further queries regarding the use of Apache Backup, please get in touch with our Technical Support team.