Creating a Mailbox
Now that you’ve secured your domain name and activated an email package, it’s time to create your new mailbox!
Step 1
Firstly, login to your Control Panel. If you’re not too sure how to do this, please see this Helpful Guide
Step 2
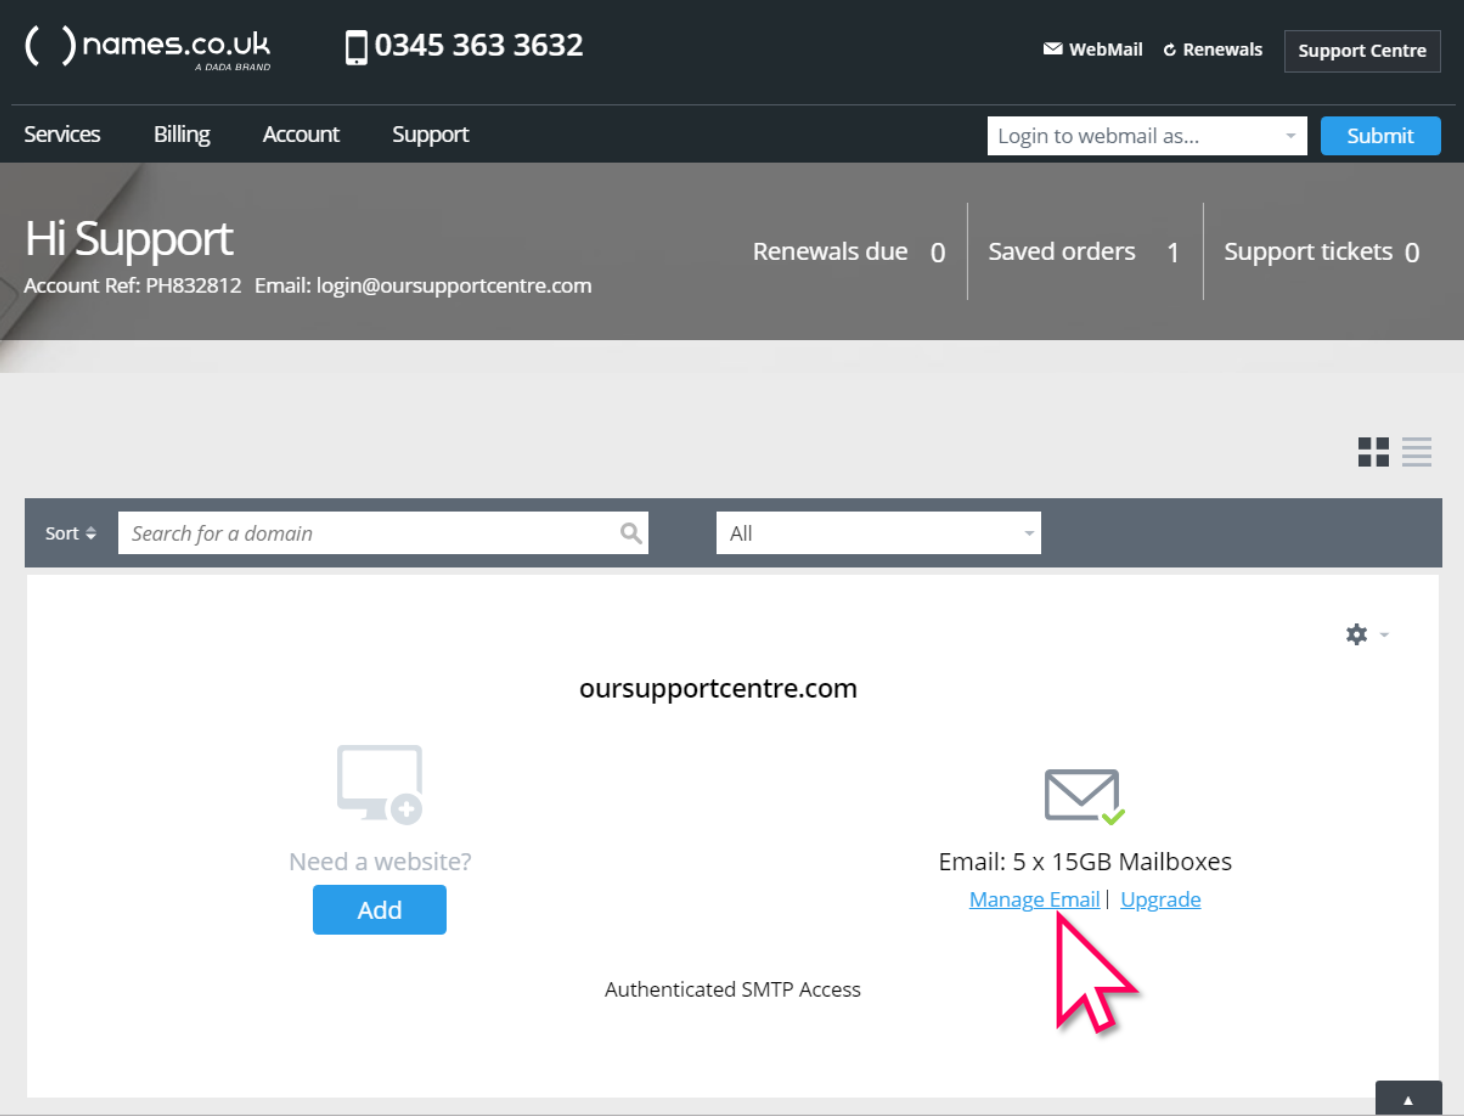
Now that you’re logged in, find your domain name on the Control Panel Home page, and click Manage Email.
Step 3
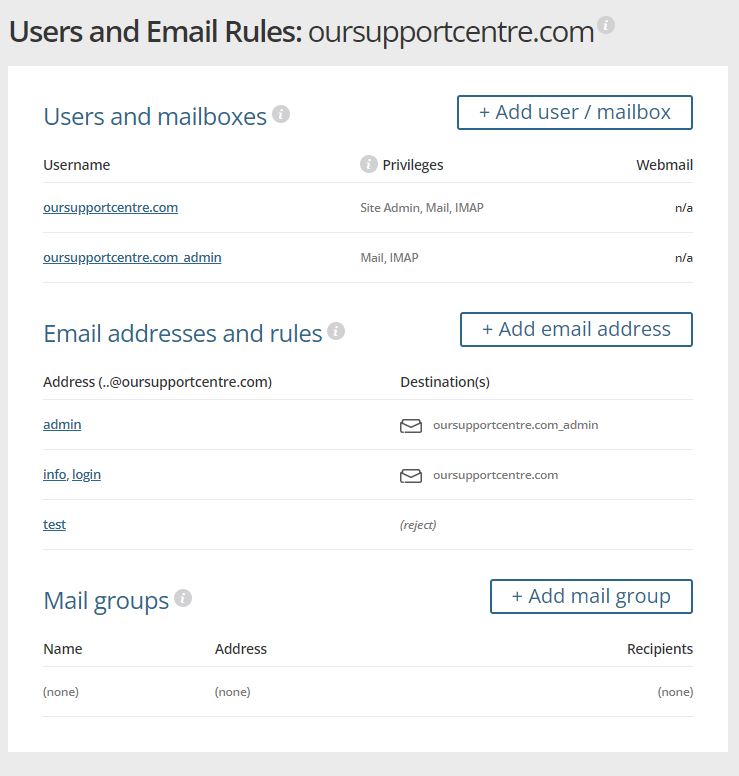
On the next page click on Add User/Mailbox.
Step 4
You’ll then need to fill in each field. When you’re finished click the Save button.
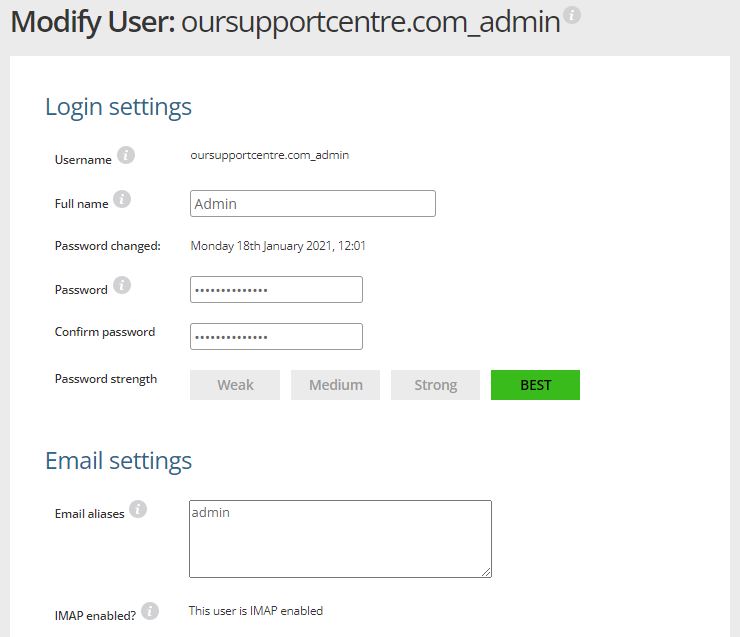
Full Name
This will be your display name for when you send an email from Webmail.
Password
Must be at least 8 characters and contain 3 of the following: a lower case character, an upper case character, a number and/or a special character.
Email aliases
This is the bit before the @ symbol. You can add multiple aliases on separate lines.
IMAP enabled
We recommend enabling this if you wish to setup your email account on your own device.
Congratulations, your new mailbox has been created!