Using iubenda with a WordPress website
Adding your iubenda policies and cookie solution to a website built using WordPress is quick and simple. The official iubenda plugin will allow you to integrate and update your iubenda services from within the WordPress dashboard.
It will also recognise and automatically detect and block the cookies in the default block list. An important part of GDPR legislation is that users should have control over their personal information by having the choice over whether they want non-essential cookies to be placed on their devices.
Note: The iubenda WordPress plugin automatically blocks scripts that are generated on the server side (therefore returned by PHP by WordPress). Scripts that are inserted into the page via JavaScript after the loading process of that page are not and cannot be blocked automatically.
These scripts can be blocked by entering the source into the Custom Script boxes in the plugin console or by using the manual wrapping method illustrated in this help post
Installing the iubenda WordPress plugin
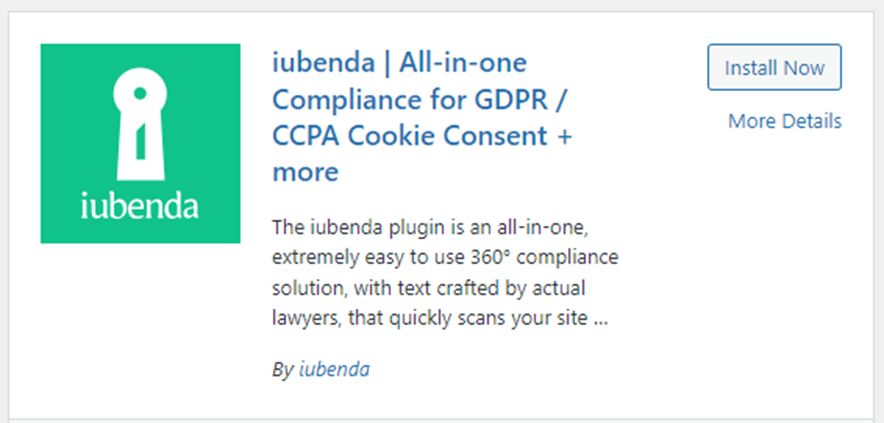
To get started, access the administration panel within WordPress and click on Plugins > Add New Plugin > and search for “iubenda”. You should see the plugin below in the list.
Click ‘Install Now’ and once the installation has completed, activate the plugin.
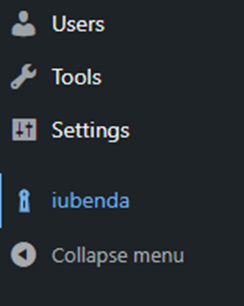
Once activated, head to the iubenda option in your WordPress admin panel.
Once there, you’ll see a page like the one below. The WordPress plugin scans your site and provides a rating based on your site’s specific needs.
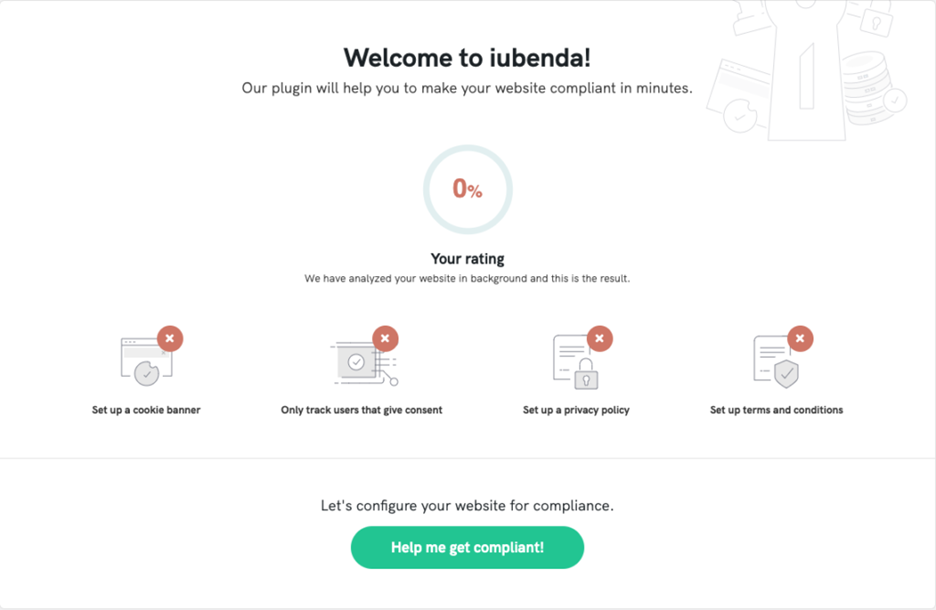
Now you have downloaded the WordPress plugin, it’s time to link it to your activated iubenda products. Click on ‘Help me get compliant!‘
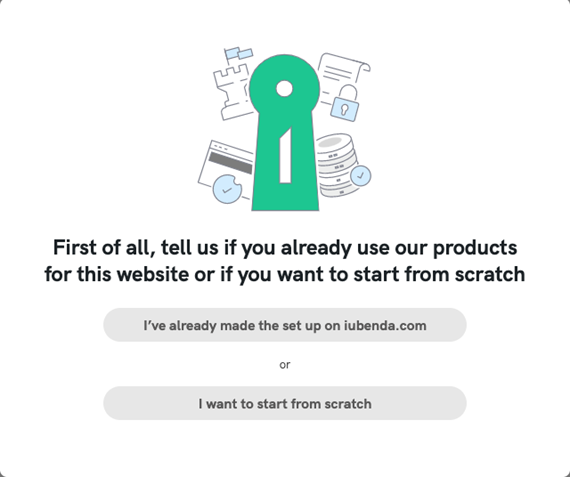
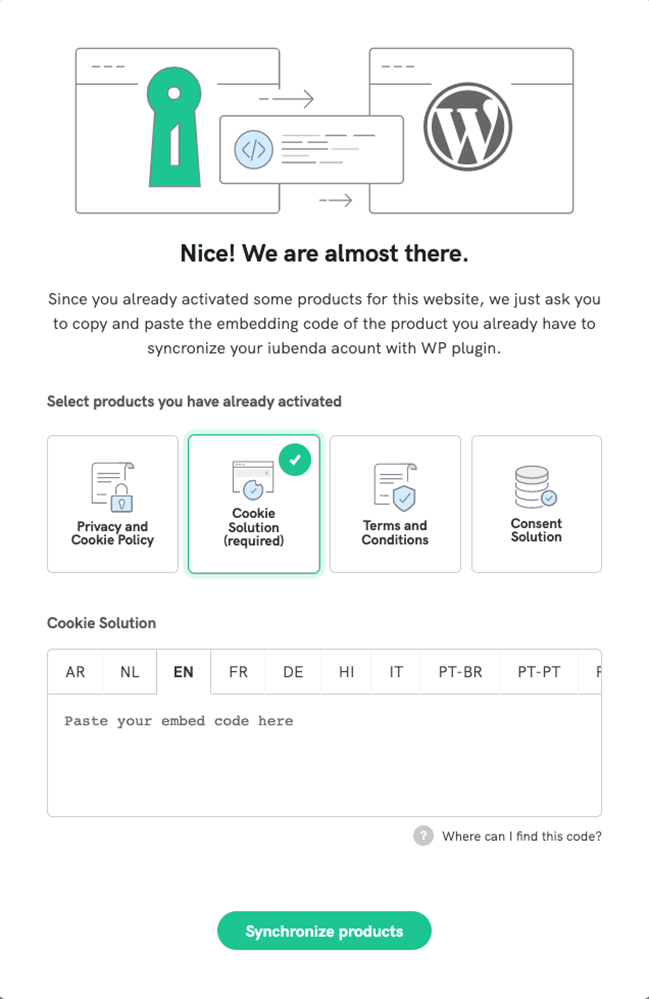
On the first step of the configuration process, click ‘I’ve already made the set up on iubenda.com‘
Paste the embed code of your Privacy Controls and Cookie Solution (required). Repeat the process for any of the other products you have set up in your iubenda account.
Once you have completed that, the plugin will automatically synchronise with your active products.
The iubenda all-in-one plugin dashboard
Once you finish the first setup, you’ll have complete control of all your iubenda products from the iubenda option in your WordPress admin panel.
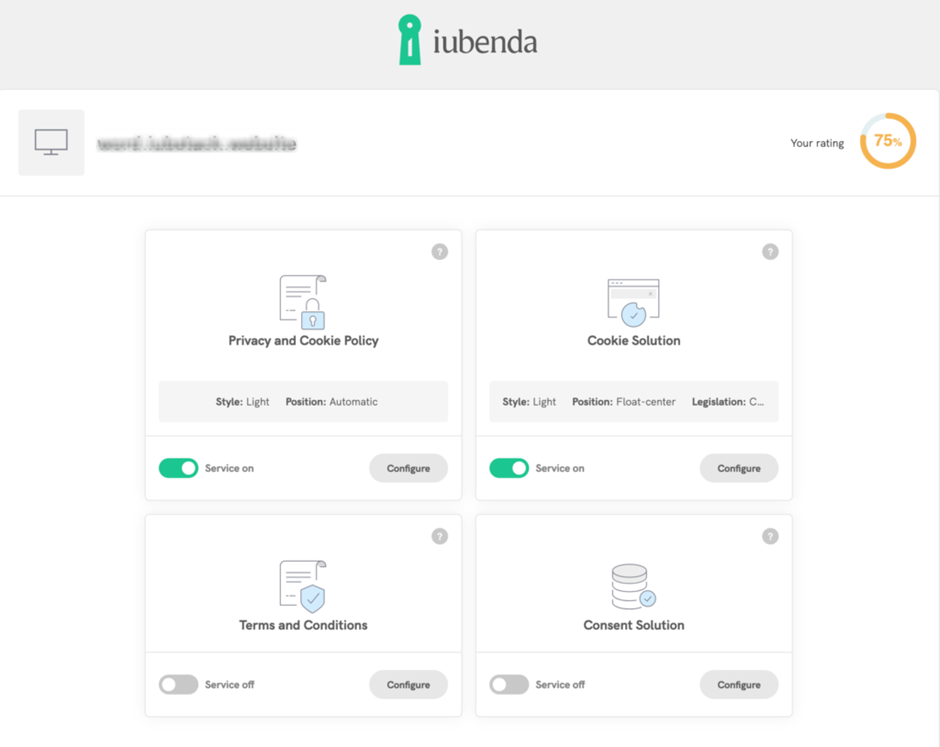
You can activate or deactivate each of the services individually or click on the ‘Configure’ buttons to change the different styles and options for each product.
Summary
Your iubenda services are now linked to your WordPress website. In the future, any changes you make to your policies via your Online Control Panel will be automatically synced to your website.
If you have any questions, please raise a support request from within your Online Control Panel or call us on 0345 363 364 and our customer support team will be happy to help.