How to add a Paypal button to your website
Info: This article applies to Website Builder purchases made before 14th January 2025. For further assistance, please contact our support team.
Adding a Paypal button using Website Builder makes it very easy for website visitors to send you money using Paypal. You could use this for gathering donations, selling products and much more.
You’ll need to ensure that you already have your own Paypal account ready to go. If you haven’t got one yet then you can create one here
To add the button to your website click on the Widgets icon within the Website Builder editor and look for the Paypal option. It’s located within the Business category or you could use the search bar at the top to easily locate it.
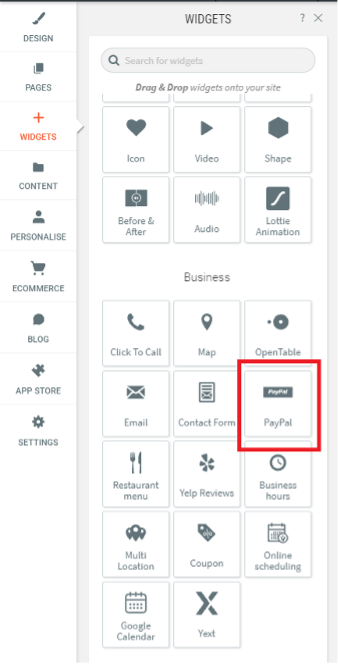
Drag and drop it over to wherever on your website you would like the button to appear and you’ll see it snap into place. A pop-up window will open up allowing you to configure it.
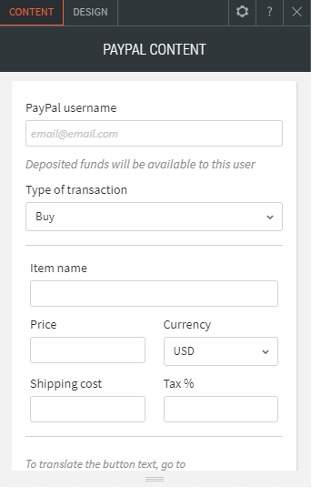
In the Paypal username field at the top you should enter the email address of your own Paypal account.
Info: Make sure you enter this correctly or you will not receive any payments
Select a Type of Transaction from the drop-down menu (purchase or donation), and then complete the following:
- Price
- Currency
- Shipping Cost
- Tax %
That completes all of the required information but you may also like to click on the Design tab at the top where you can also access additional customisation options for the button itself.
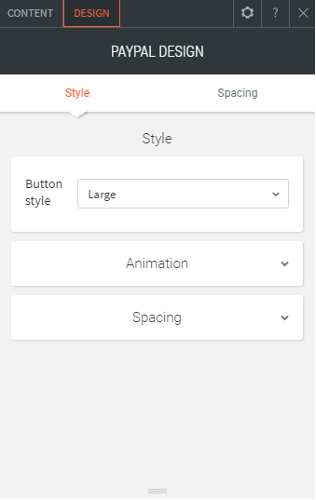
Here you can control the size of the button and determine whether its appearance on the page should be animated or not.
Don’t forget that once you have finished customising the widget you will need to re-publish the website through the editor in order for it to go live.