Installing Google Tag Manager on Website Builder
Head to https://tagmanager.google.com and log in with the Google account you used to setup your Container. If you haven’t set this up yet, please follow this guide to set one up.
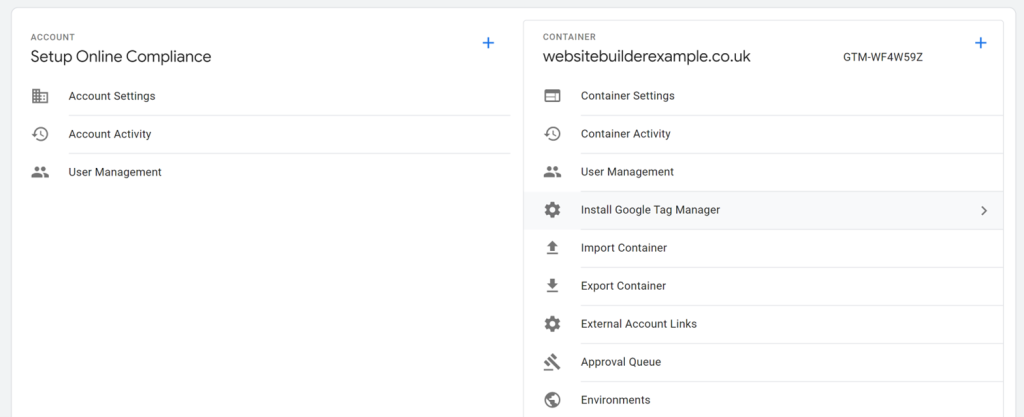
In your list of accounts, find the account you created for your website and click the settings icon.

Click ‘Install Google Tag Manager’.
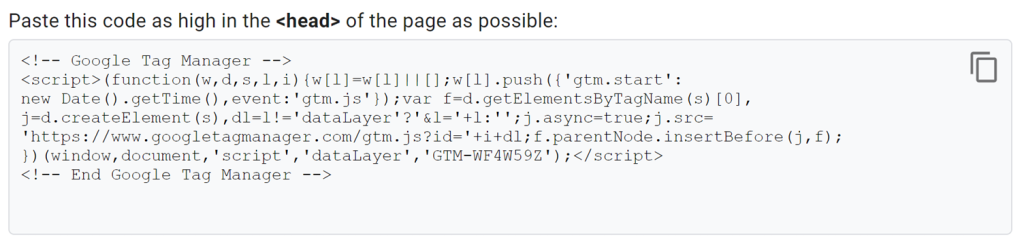
Copy the first code block by clicking the copy icon.
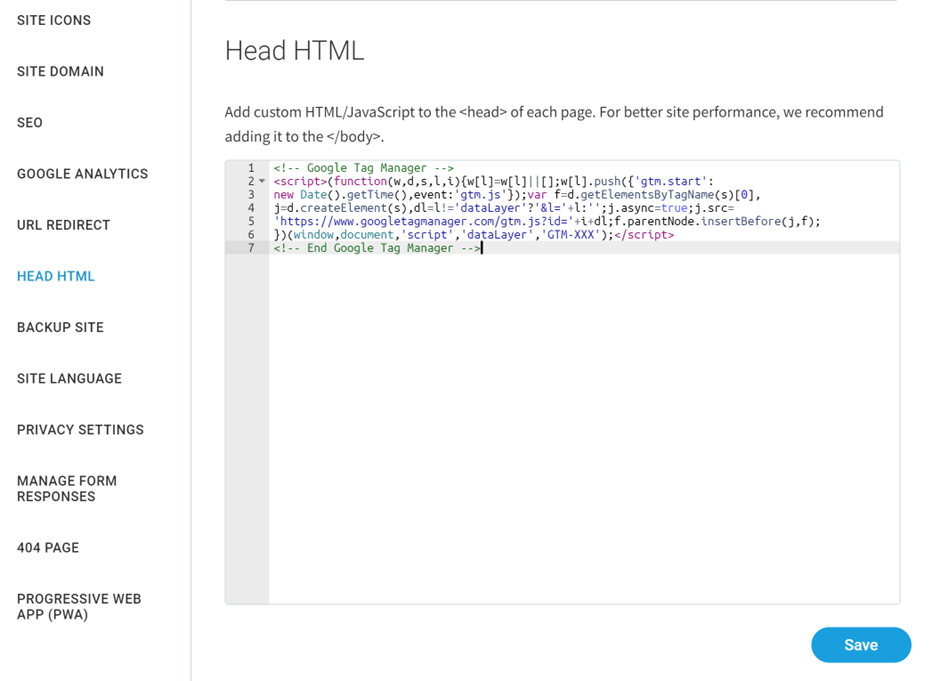
Head over to your website builder and click ‘SEO & SETTINGS’ in the menu on the left.

Click ‘HEAD HTML’ in the menu and scroll down until you see the Head HTML section. Paste the code you copied from tag manager into the empty Head HTML box and click ‘Save’.
Head back to Google Tag Manager and copy the second code block by clicking the copy icon.

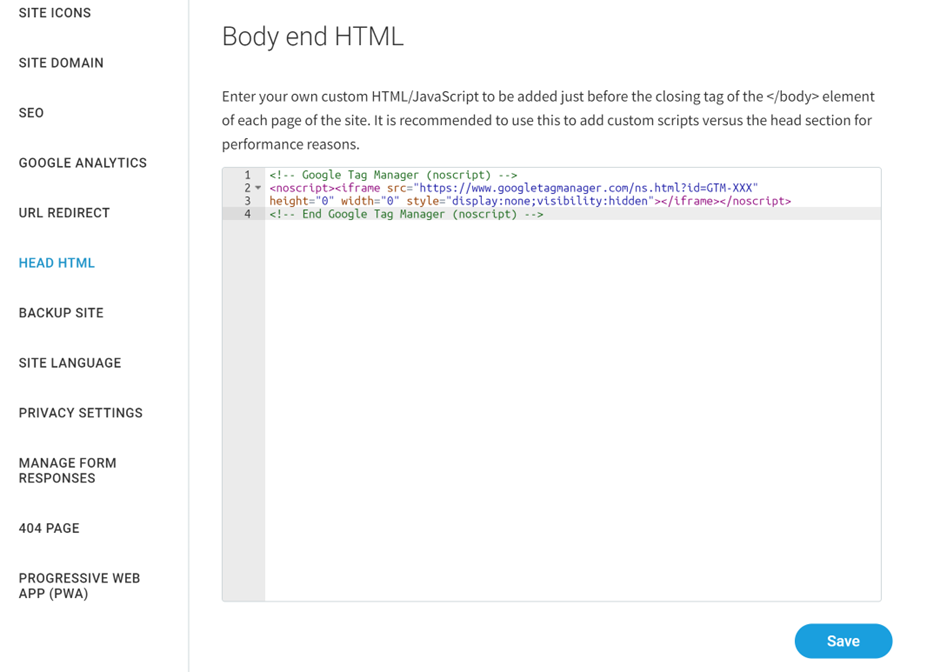
Back in Website Builder, still in the HEAD HTML screen, scroll up until you see the Body end HTML section. Paste the code you copied from tag manager into the empty box and click save.
Republish your website and the new Google Tag Manager scripts will be live on your website.
Summary
You have now installed Google Tag Manager on your website builder.
We have created a few guides which may also help you further Here.
If you have any questions, please raise a support request from within your Online Control Panel or call us on 0345 363 3634 and our customer support team will be happy to help.